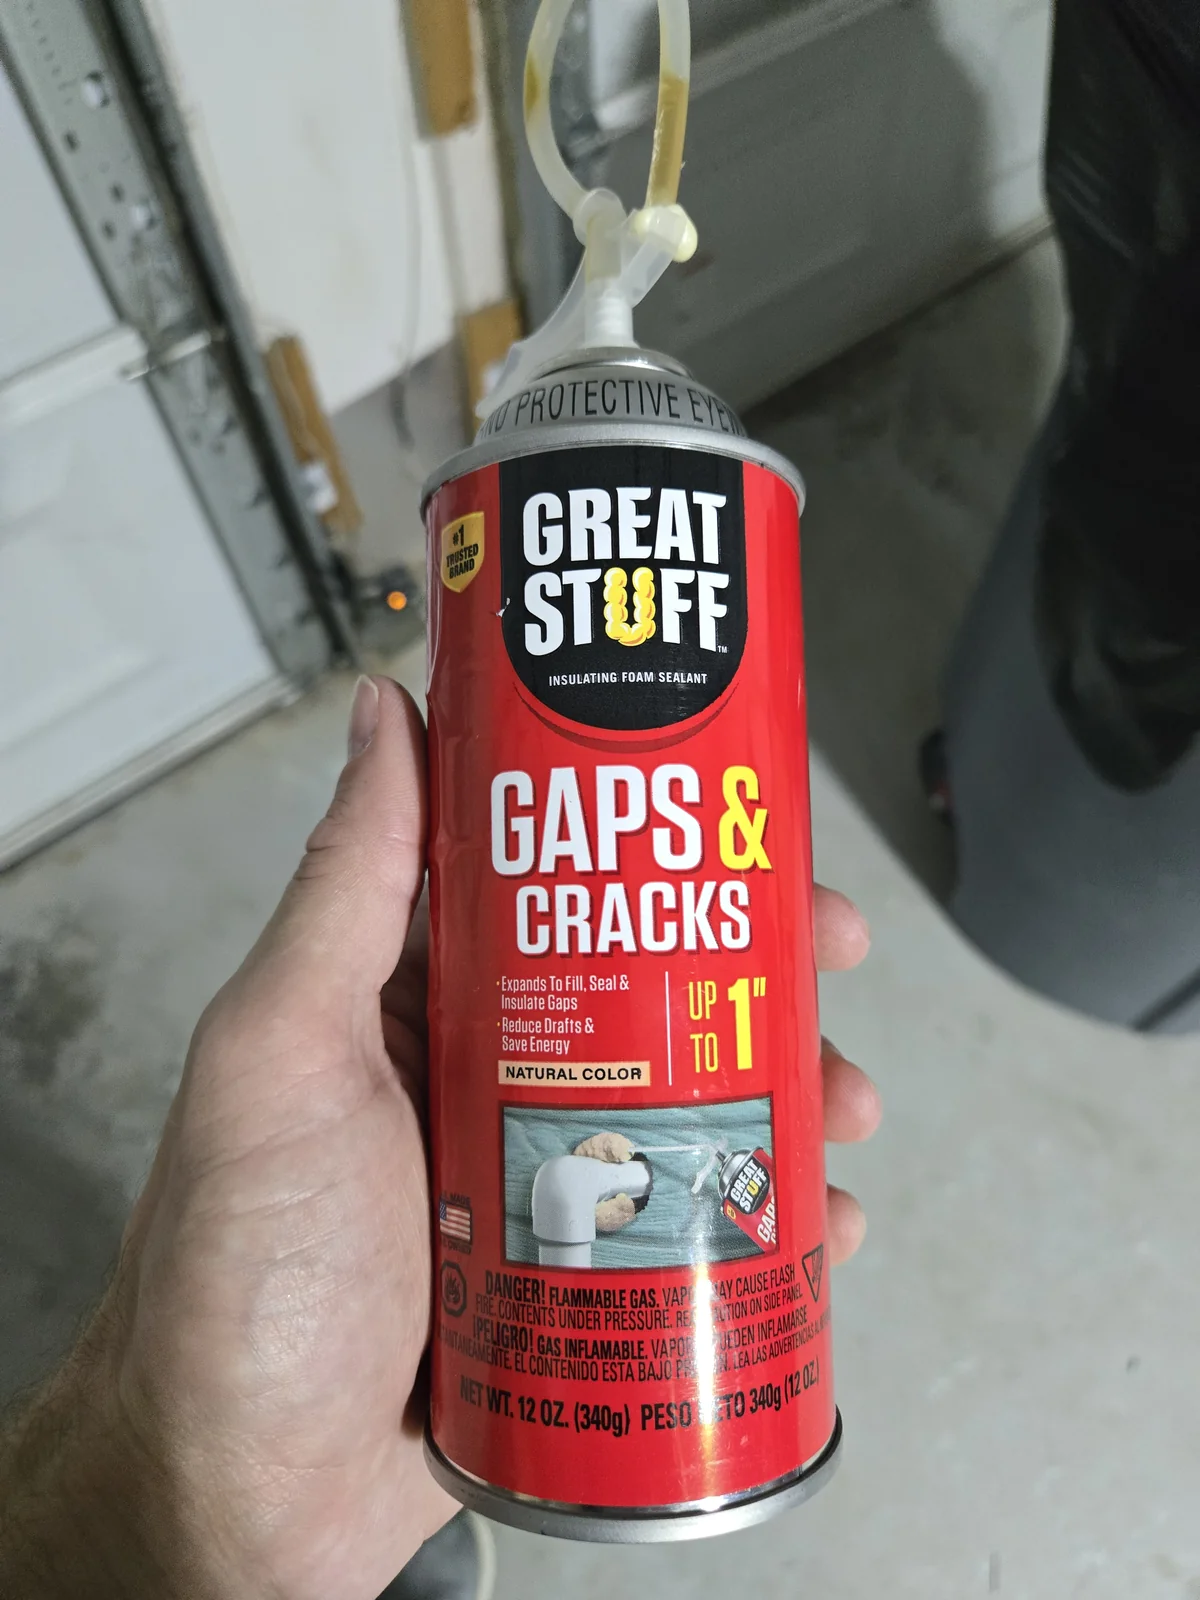
A garage is the leakiest room most houses have — it’s framed like living space but finished like a barn, and every gap where the framing meets the slab or the door jamb meets the brick is a straw the winter sucks heat through (and a door mice read as an invitation). The fix is the least precise, most satisfying job in DIY: a can of expanding foam, a pair of gloves, and an afternoon.
Step 1: Find the Gaps
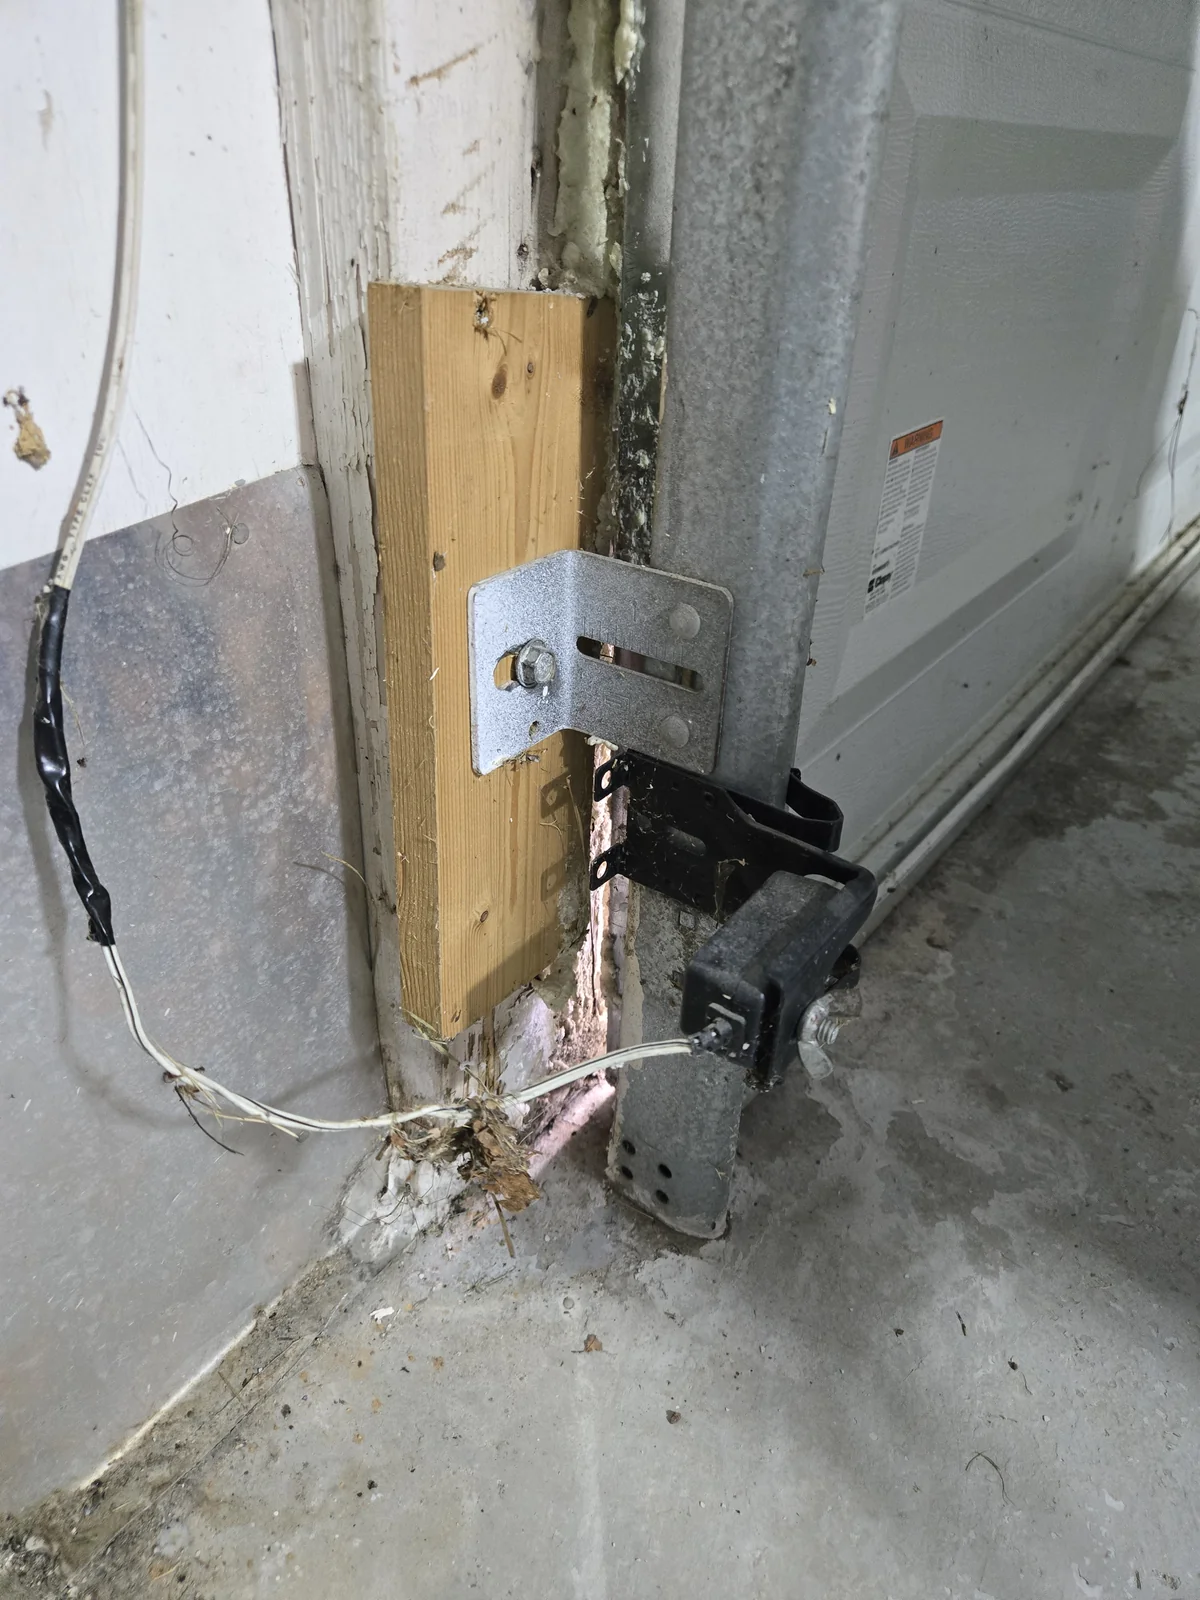
Stand inside the garage on a bright day with the lights off and the door down. Anywhere you see daylight is an air leak; anywhere you feel moving air on a windy day is a bigger one. The usual suspects:
- Where the door jamb and mounting lumber meet the masonry — the corner joints are almost never sealed by the builder
- The sill plate line, where the wall framing sits on the concrete slab
- Wire and pipe penetrations through the walls and ceiling
- Around the garage door opener’s electrical and the sensor wiring holes
The one place foam does not go: anything that moves. The gap under the rubber bottom seal, the edges the door slides past — that’s weatherstripping territory. Foam is for joints that are supposed to be permanent.
Step 2: Prep Like It’s Permanent — Because It Is
- Nitrile gloves on. Uncured foam does not come off skin. Not with soap, not with acetone — it wears off over a week. This is the entire safety briefing and the most important sentence in the article.
- Old clothes, and cardboard or a drop cloth under the work area.
- Shake the can hard for a full minute — the propellant and polymer separate on the shelf.
- The can works best upside down; plan your angles before you pull the trigger.
Step 3: Fill Half, Walk Away
Run the tip along the gap and fill it about half full, moving steadily. The foam expands two to three times as it cures — a half-filled crack becomes a packed one, and an “I’ll just top it off” crack becomes a mushroom you’re carving off the wall later. Underfilled? Hit it again in an hour. Overfilled costs you a knife session; underfilled costs you nothing.
For the vertical joints like the door-frame corners, start at the bottom and work up so the bead supports itself while it skins over.
Step 4: Trim and Forget
Tack-free in ~15 minutes, trimmable in about an hour: slice anything proud of the surface flush with a serrated knife or a long utility blade. Fully cured foam is a permanent air, moisture, and insect barrier. If any of it ends up where sunlight hits, paint or caulk over it — UV turns bare cured foam orange and crumbly over a couple of seasons.
That’s the whole skill. The learning curve is one overfilled gap, and after that you’re a professional.
Worth Doing at the Same Time
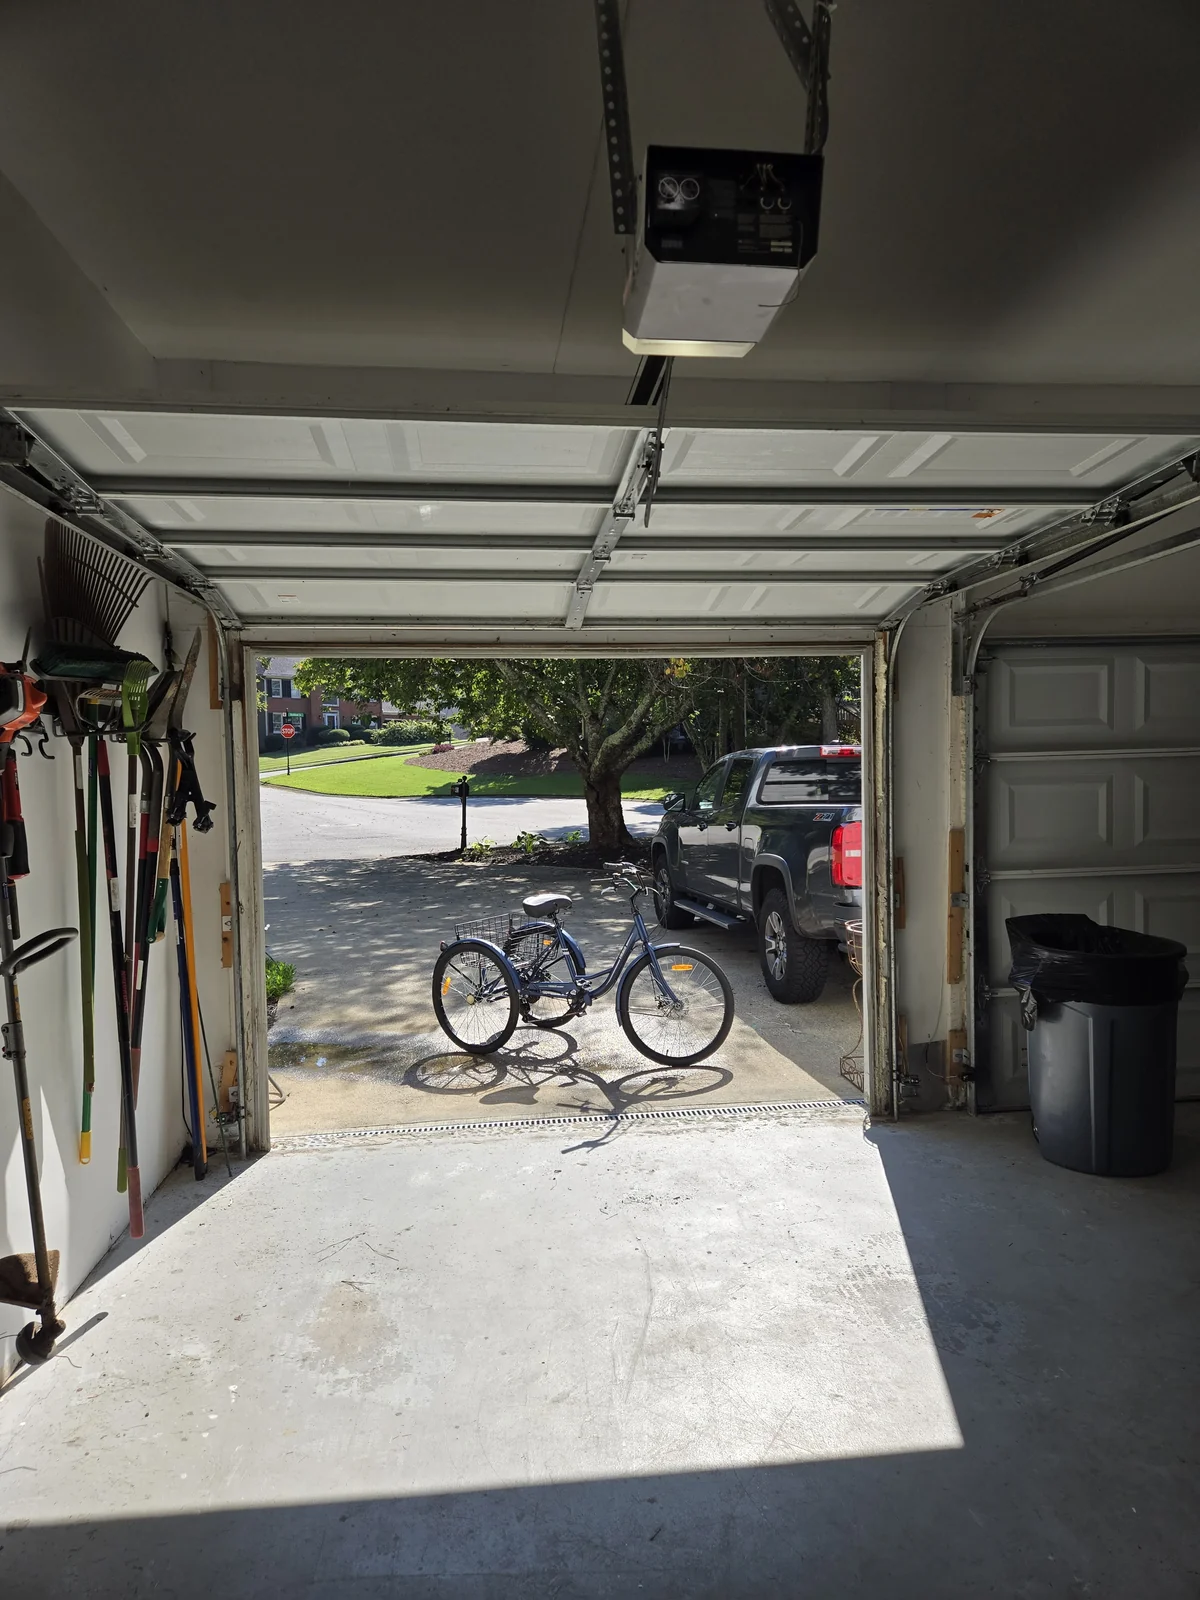
The foam pass pairs naturally with the rest of the pre-winter garage circuit — ten minutes of silicone on the garage door’s hinges and rollers while the door’s down, a look at the door’s rubber bottom seal for daylight (replacement seals are a weatherstripping job, not foam), and getting the yard tools up on the wall before they spend the winter tripping you — that’s what the FastTrack system is for.
Bottom Line
Find the daylight, glove up, shake the can, fill the fixed joints half-full, trim in an hour, paint whatever the sun touches. One can seals a typical garage’s worth of gaps with foam to spare, and it’s the cheapest insulation work a house can get.
Frequently Asked Questions
Where should I use expanding foam in a garage?
Anywhere fixed materials meet and daylight or airflow gets through — the garage door frame where the wood jamb meets brick or concrete, the sill plate where the wall framing sits on the slab, holes where wires or pipes pass through, and the gaps around the door tracks' mounting lumber. The moving parts of the door itself are a weatherstripping job, not a foam job — foam only goes on joints that never move.
How much expanding foam do I put in a gap?
Fill the cavity about half full. Gaps-and-cracks foam expands two to three times as it cures, and a "full" bead becomes a mushroom that you'll be carving off the wall an hour later. A half-filled gap cures into a fully packed one. If you underfill, a second pass is easy; overfilling is a knife-and-scrape job.
What do I need to know before using Great Stuff?
Nitrile gloves, non-negotiable. Uncured foam does not wash off skin — soap, solvents, nothing; it wears off over about a week and you think about it every time you shake someone's hand. Gloves, old clothes, drop cloth or cardboard under the work, and keep a rag in your other hand for the inevitable drip.
How long does expanding foam take to dry, and do I need to trim it?
Tack-free in about 15 minutes, trimmable in about an hour, fully cured in 8 or so — check your can. Once cured, trim flush with a serrated knife or a long utility blade. Cured foam is UV-sensitive and turns orange and crumbly in sunlight over time, so anything exposed outdoors should get a coat of paint or caulk over it.
Which expanding foam should I buy?
For gaps up to about an inch, the standard Gaps & Cracks can is right. Bigger voids want the "Big Gap" version, windows and exterior doors want the low-pressure window-and-door formula (regular foam can bow a door jamb), and anywhere mice are the concern there's a pest-block version with a bittering agent. Same technique for all of them.
Products Mentioned in This Article

Great Stuff Gaps & Cracks, Smart Dispenser, 12 oz
The classic gap filler, in the Smart Dispenser version that can reseal between uses for up to a month — which fixes the one real flaw of the straw can in my photos (a straw can is a one-day can).
- Expands to pack gaps up to one inch completely
- Resealable dispenser means the leftover half-can isn't wasted
- Cured foam is an air, moisture, and bug barrier in one pass
- Even the resealable dispenser eventually cures shut if it sits half-used for months — plan the can's work in one or two sessions
Prices shown were retrieved from Amazon on Oct 8, 2026, 2:37 PM UTC. Product prices and availability are accurate as of the date/time indicated and are subject to change. Any price and availability information displayed on Amazon at the time of purchase will apply to the purchase of this product.