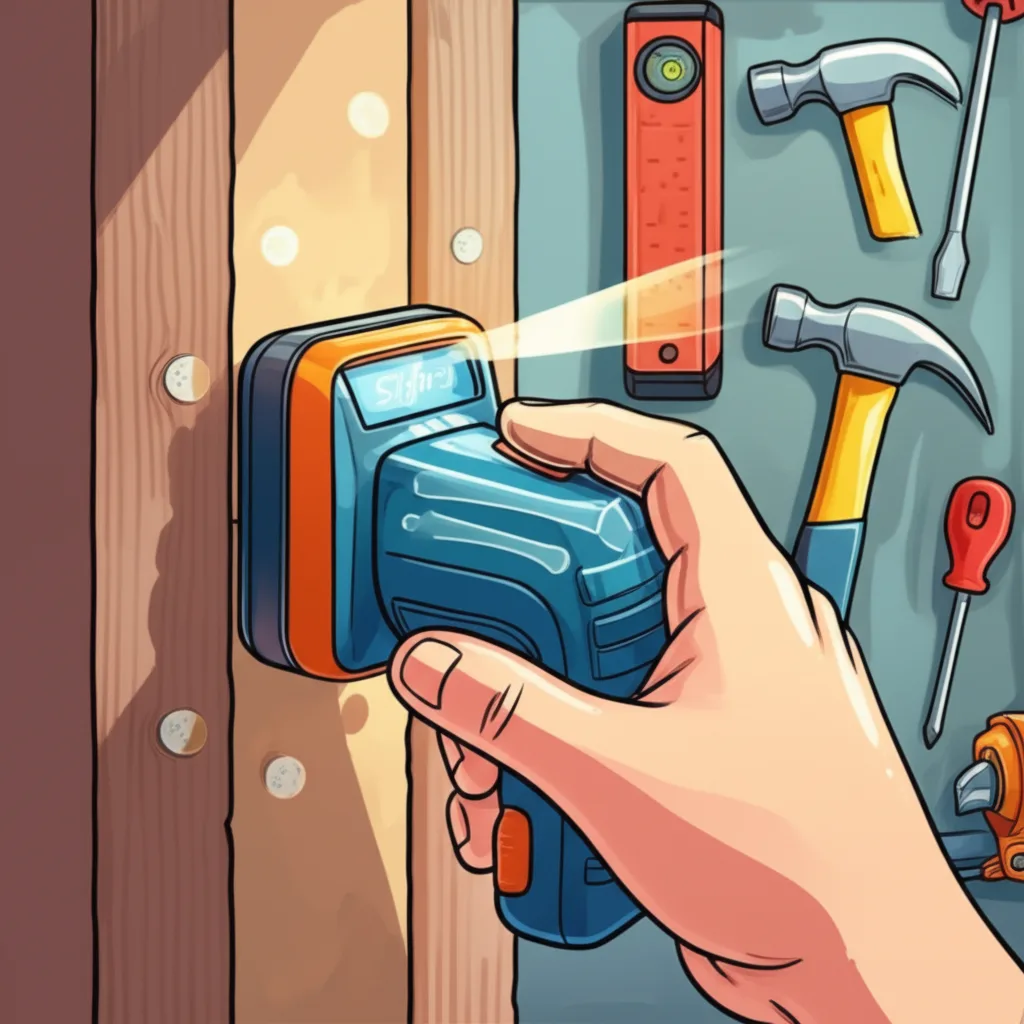
A stud finder is one of those tools that sits in a drawer for months and then becomes the most important thing you own for about 45 minutes. You’re hanging shelves, mounting a TV, putting up a tool rail in the garage — and suddenly the difference between “securely attached to a stud” and “ripped out of the drywall and on the floor” matters a lot.
I’ve owned two stud finders. The first was a basic beep-style finder that would light up when it detected something and leave me guessing exactly where the stud actually was. My current one is the Franklin Sensors ProSensor T13, which uses a row of LEDs to show the full width of the stud. The difference is night and day.
Quick answer: The Franklin Sensors ProSensor T13 ($55) is the best stud finder for most people — 13 sensors show the full stud width so you can find the center without sweeping back and forth. If you’re on a tight budget, the C.H. Hanson Magnetic Stud Finder ($10) is foolproof and never needs batteries. And when you can’t find a stud where you need one, TOGGLER SnapToggle anchors hold 265 lbs in drywall.
Why Most Stud Finders Are Frustrating
Here’s the problem with the standard beep-and-light stud finders that most people buy first: they tell you roughly where a stud is but not exactly. You put the finder on the wall, slide it across, and it beeps. Great. But is that the edge of the stud? The center? Is it picking up a pipe instead?
So you mark it, slide from the other direction, get a slightly different reading, mark that too, and then try to split the difference. If you’re hanging one thing, that’s fine. If you’re putting up a rail system across your garage wall and need to hit studs in 8 different spots, it gets old fast.
The multi-sensor approach — where 13 LEDs light up simultaneously to show the full width — eliminates all of that. You can see both edges of the stud at once, which means you can find the center on the first pass. That’s what sold me on upgrading.
The Best Stud Finders
1. Franklin Sensors ProSensor T13 — Best Overall ($55)
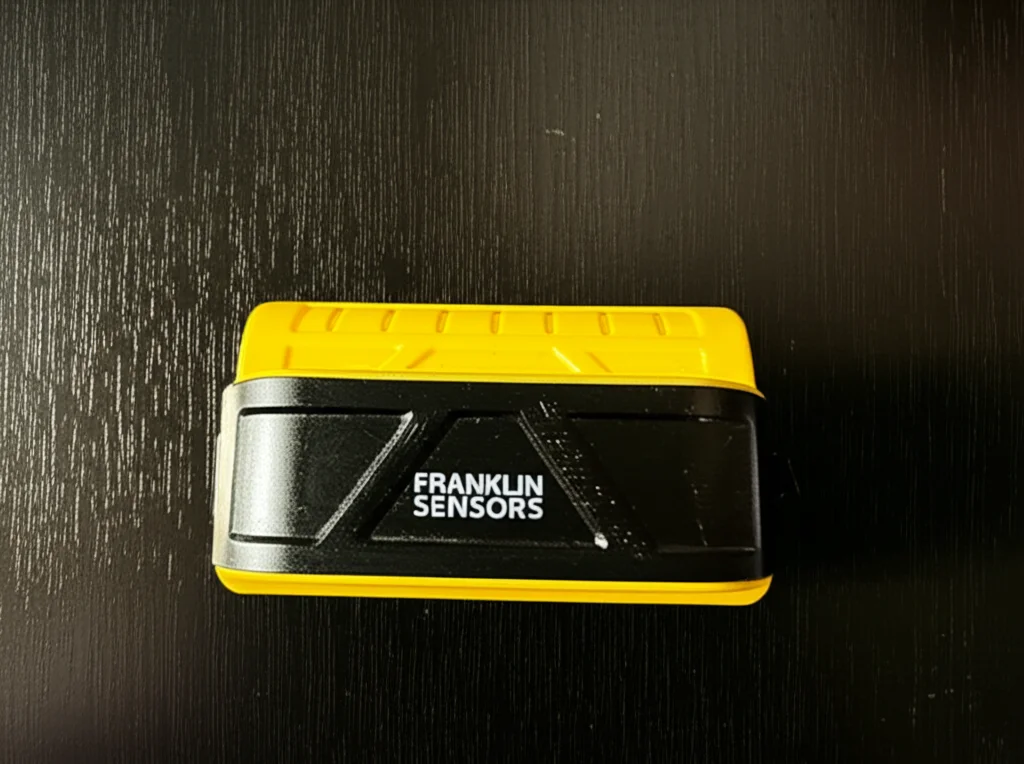
This is what I use and what I’d recommend to anyone. Instead of one sensor that beeps, the ProSensor T13 has 13 individual sensors across a wide scanning face. When you hold it against the wall, each sensor over a stud lights up. You get an instant visual of the stud’s full width — both edges and the center — without sweeping.
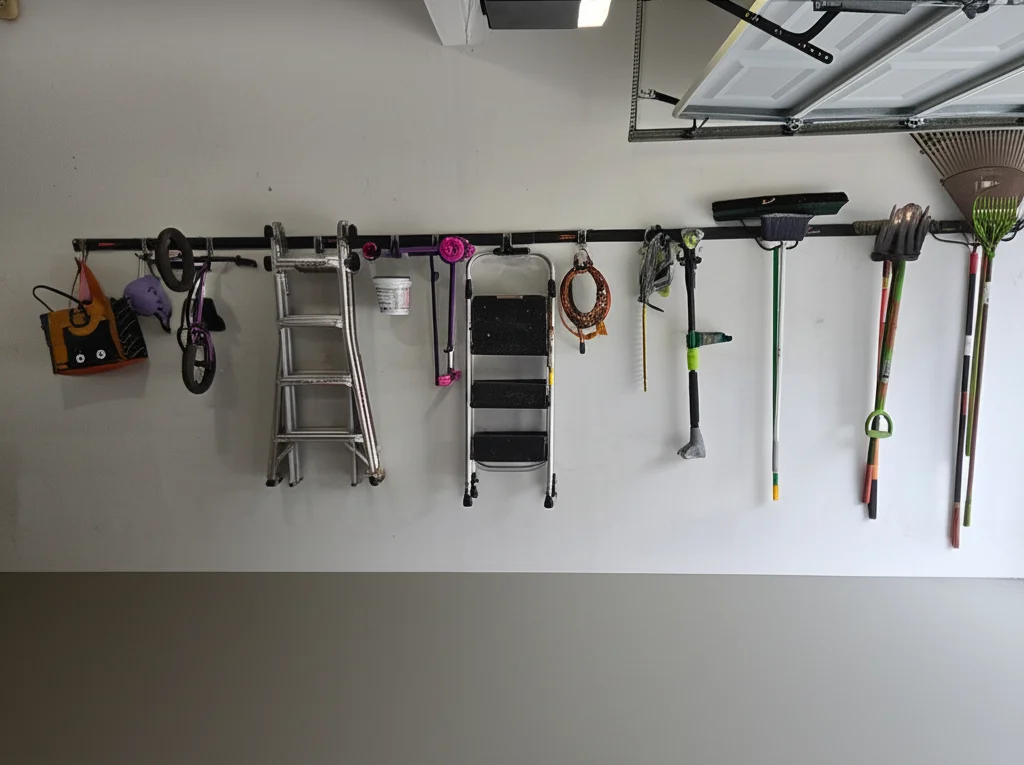
I used it extensively when I put up a tool rail system in my garage. That project required finding studs across a long stretch of wall, and the ProSensor made it fast. Hold it to the wall, see the lights, mark the center, move on. No second-guessing, no “was that the edge?” back-and-forth.
It’s not perfect. It needs calibration on each new section of wall (you hold it flat and press the button), and on plaster-over-lath walls it can give false readings like any electronic finder. But on standard drywall, which is most modern homes, it’s the best stud finder I’ve used.
2. C.H. Hanson Magnetic Stud Finder — Best Budget ($10)
No batteries, no calibration, no false readings — just a strong rare-earth magnet that snaps to the nails or screws in your studs. You slide it slowly across the wall and feel it pull when it finds metal. That’s it.
The beauty of a magnetic finder is that it works on everything: drywall, plaster, tile, you name it. It doesn’t detect the stud itself — it detects the fasteners holding the drywall to the stud. So it’s immune to the density-change confusion that trips up electronic finders on plaster walls.
The downsides are real though. It finds individual nails, not stud edges. So you know a stud is there but you still need to find the center. It’s also slow — you need to move it carefully to feel the magnetic pull, and in areas with metal corner beads or wire mesh, you’ll get false positives.
For $10, it’s a perfect backup or first stud finder. It’ll live in your junk drawer for years and always work when you need it.
3. Zircon MultiScanner A200 — Best Multi-Purpose ($50)
If you want one tool that detects studs and warns you about what else might be hiding in the wall, the Zircon A200 is the move. It has separate modes for finding studs, detecting AC electrical wiring, and locating metal pipes. The LCD screen shows you exactly what it found.
This matters more than you might think. Before you drill into a wall, you want to know if there’s a water pipe or electrical wire behind it. A basic stud finder won’t tell you. The A200 will at least give you a warning — the AC mode picks up live wires, and the metal scan mode finds pipes and ductwork.
It’s a traditional sweep-style finder (beeps and arrows, not multi-LED like the Franklin), so you’re still doing the two-direction sweep to find stud edges. But the added detection modes make it worth considering, especially for older homes where you’re less certain about what’s behind the walls.
4. Walabot DIY 2 — Advanced Phone Scanner ($170)
This is the high-tech option. The Walabot attaches to the back of your Android phone (iPhone support is limited) and uses radar technology to create a visual image of what’s behind your wall. Studs, pipes, wires, even rodents — it shows everything on your phone screen in a real-time image.
It’s the closest thing to having X-ray vision into your walls. If you’re doing a renovation and need to know exactly where plumbing and electrical runs go before you start cutting, this is genuinely useful.
The catch: it’s $170, requires your phone, and the app can be finicky. The learning curve is steeper than a regular stud finder, and reviews are mixed on consistency. At 3.9 stars on Amazon, it’s the most polarizing product on this list. People who love it really love it, and people who don’t find it frustrating.
For occasional stud finding, this is overkill. For renovation planning, it’s a unique tool that nothing else replaces.
5. Ryobi ESF5002 Whole Stud Detector — Best Value ($30)
Ryobi’s entry gives you the full-width stud detection (7 sensors) at about half the price of the Franklin. It shows both edges of the stud simultaneously, which is the feature that matters most. Also includes a wire warning indicator.
The trade-off is fewer sensors (7 vs. 13) and a narrower scanning face, which means it’s slightly less precise at showing stud width. But for most homeowner tasks — hanging shelves, mounting a TV — it’s accurate enough. If the Franklin’s $55 price tag feels steep for a tool you’ll use a few times a year, the Ryobi is a solid alternative.
How to Use a Stud Finder (The Right Way)
Most people grab a stud finder, slide it across the wall, and hope for the best. Here’s the process that actually works:
-
Start on a clear section of wall. Place the finder flat against the wall away from where you think the stud is. Press and hold the calibration button until it signals ready. This lets it learn the “baseline” density of your wall.
-
Slide slowly in one direction. Move the finder horizontally at a steady pace. When it signals a stud (beep, light, or LED row), mark the edge with a pencil.
-
Approach from the other side. Recalibrate and slide from the opposite direction toward the same stud. Mark where it signals again. The center of your two marks is the center of the stud.
-
Verify with a test. Drive a small nail or thin drill bit at your center mark. If you hit solid wood, you found it. If you punch through to air, adjust.
-
Find the next stud. Measure 16 inches from your confirmed stud in either direction — that’s standard framing spacing. Verify with the finder.
Pro tip: If you’re doing a bigger project like mounting a garage storage rail or hanging multiple shelves, use a laser level to project a line across the wall at your mounting height, then find studs along that line. It’s much faster than measuring and marking individual points.
What to Do When There’s No Stud
Here’s the reality: the stud is never where you need it. Studs are typically 16 inches apart, and the spot where you want your shelf or TV mount rarely lines up perfectly. That’s where drywall anchors come in.
I wrote a full breakdown of every type of drywall anchor ranked by strength, but here’s the short version:
- Under 30 lbs (towel bars, small shelves): TOGGLER SnapSkru self-drilling anchors ($33 for 100). No drill needed — just a screwdriver.
- 30-100+ lbs (TV mounts, heavy shelves, mirrors): TOGGLER SnapToggle toggle bolts ($12 for 6). These hold 265 lbs per anchor in half-inch drywall.
- Over 100 lbs (garage storage, pull-up bars): Skip the anchors — find the stud and use lag bolts.
I keep a box of SnapSkrus and a pack of SnapToggles in the garage. Between those two, I’m covered for any wall-mounting project without a trip to the hardware store.
Safety: What’s Behind That Wall?
This is the section that most stud finder articles gloss over, but it’s worth taking seriously. Before you drill into any wall, think about what might be behind it.
Electrical wires run vertically from outlets and switches up to the ceiling, and horizontally between outlets on the same circuit. If you’re drilling anywhere near an outlet or switch — especially directly above or below one — use a scanner with AC detection mode or at minimum check carefully.
Water pipes are usually in exterior walls, near bathrooms and kitchens, and running vertically between floors. Hitting a water pipe is a bad day. If you’re working on a wall with plumbing on the other side, go slow and use a shallow depth stop on your drill.
Gas lines are rare in interior walls but worth being aware of, especially near furnaces, water heaters, and gas fireplaces.
For general-purpose projects — hanging shelves in a bedroom, putting up a tool rail in the garage — the risk is low. My garage project was all exterior walls with no plumbing, so I wasn’t worried. But if you’re mounting something in a bathroom, kitchen, or near any utilities, take the extra 30 seconds to check. And if you need to cut into drywall for any reason (outlet boxes, access panels), an oscillating multi-tool gives you much more control than a drywall saw.
Product Comparison
| Product | Type | Best For | Key Feature | Rating | Price |
|---|---|---|---|---|---|
| Franklin Sensors T13 | Electronic | Overall pick | 13-sensor full-width display | ★★★★½ | $55 |
| C.H. Hanson Magnetic | Magnetic | Budget / plaster walls | No batteries, always works | ★★★★½ | $10 |
| Zircon A200 | Multi-scanner | Wire/pipe detection | AC + metal scan modes | ★★★★ | $50 |
| Walabot DIY 2 | Phone radar | Renovation planning | Visual wall imaging | ★★★★ | $170 |
| Ryobi ESF5002 | Electronic | Value pick | 7-sensor full-width | ★★★★ | $30 |
| TOGGLER SnapToggle | Drywall anchor | Heavy loads (265 lbs) | Toggle bolt, wide load spread | ★★★★★ | $12/6pk |
| TOGGLER SnapSkru | Drywall anchor | Light/medium (45 lbs) | Self-drilling, no tools | ★★★★★ | $33/100pk |
What I’d Buy Today
If I were starting from scratch:
- Franklin Sensors ProSensor T13 — main stud finder for everyday use
- C.H. Hanson Magnetic — backup for plaster walls and when batteries die
- TOGGLER SnapToggle + SnapSkru — for when the stud isn’t where you need it
Total: about $110 and you’re set for any wall-mounting project.
For cleaning up after your projects, check out our guide on the best shop vacuum for home use — a shop vac and a stud finder are the two tools that make every DIY project go smoother.
Products Mentioned in This Article
Franklin Sensors ProSensor T13
13-sensor stud finder that shows the full width of a stud with LEDs on the first pass.
- 13 sensors show both stud edges and center simultaneously
- No back-and-forth sweeping — find the center on the first pass
- Fast for projects requiring multiple stud locations
- Used extensively for a garage tool rail project with great results
- Needs calibration on each new wall section
- Can give false readings on plaster-over-lath walls
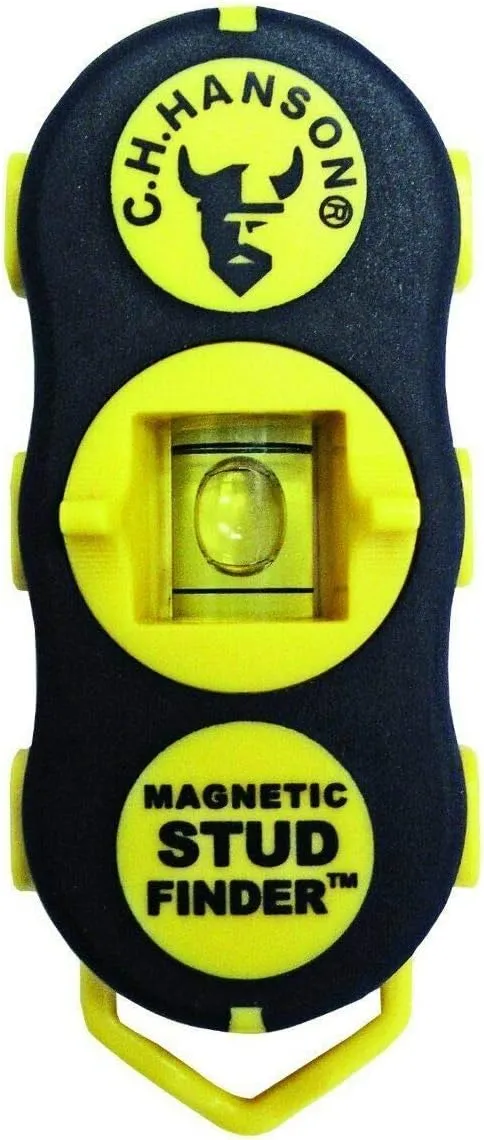
C.H. Hanson Magnetic Stud Finder
Simple rare-earth magnet finder that detects nails and screws in studs — no batteries needed.
- No batteries, no calibration, no false readings
- Works on all wall types including plaster, tile, and drywall
- Perfect $10 backup that lives in a junk drawer for years
- Finds individual nails, not stud edges — still need to find center
- Slow — must move carefully to feel the magnetic pull
- False positives near metal corner beads or wire mesh
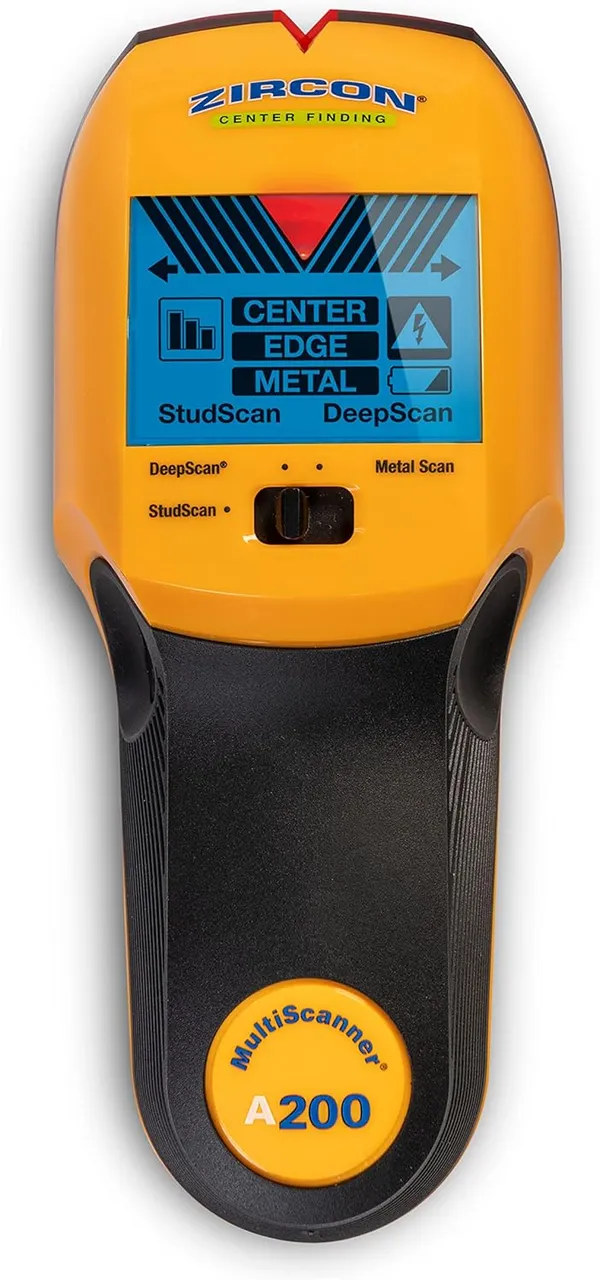
Zircon MultiScanner A200
Multi-purpose wall scanner with stud, AC wiring, and metal pipe detection modes.
- Detects studs, AC wiring, and metal pipes in one tool
- LCD screen shows exactly what it found
- AC mode warns about live wires before drilling
- Great for older homes where you're unsure what's behind the wall
- Traditional sweep-style finder — still need two-direction sweep
- No multi-LED full-width display like the Franklin
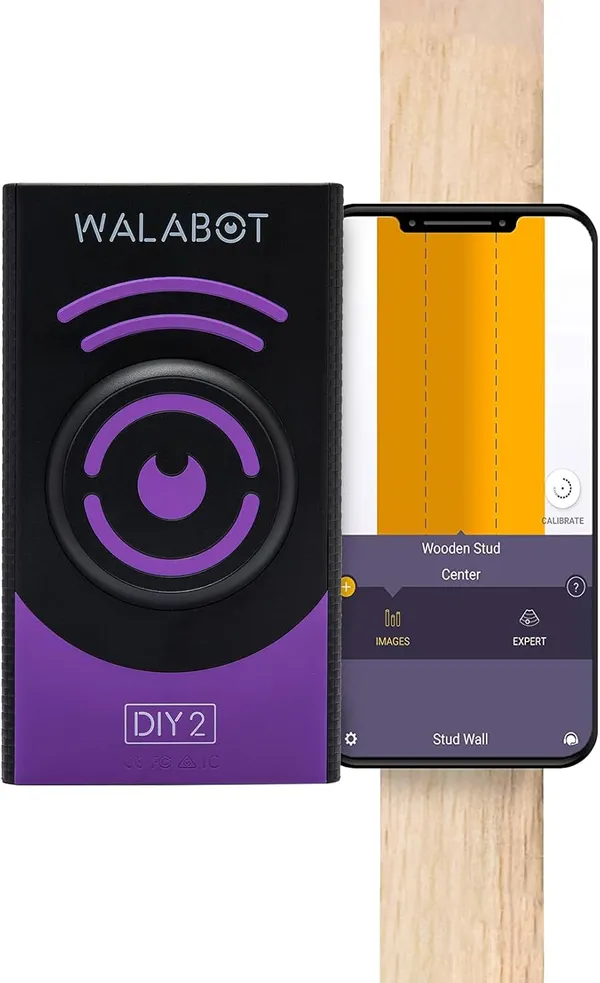
Walabot DIY 2
Radar-based phone attachment that shows studs, pipes, wires, and more on your screen in real time.
- Visual real-time image of everything behind the wall
- Shows studs, pipes, wires, and even rodents
- Unique tool for renovation planning that nothing else replaces
- Expensive at $170 for occasional use
- Requires an Android phone — limited iPhone support
- App can be finicky with a steeper learning curve
- Most polarizing product at 3.9 stars — inconsistent reviews
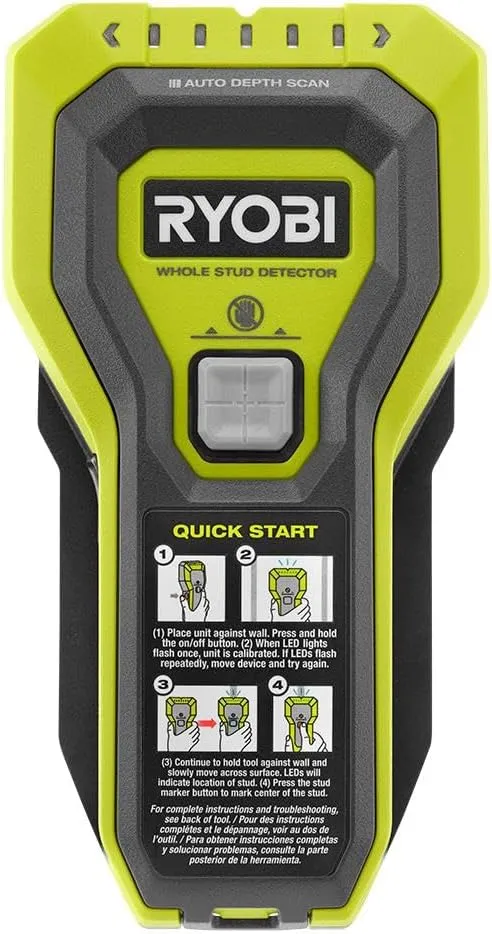
Ryobi ESF5002 Whole Stud Detector
Budget full-width stud detector with 7 sensors and a wire warning indicator.
- Full-width stud detection at about half the Franklin's price
- 7 sensors show both stud edges simultaneously
- Includes a wire warning indicator
- Fewer sensors (7 vs 13) and narrower scanning face than the Franklin
- Slightly less precise at showing stud width
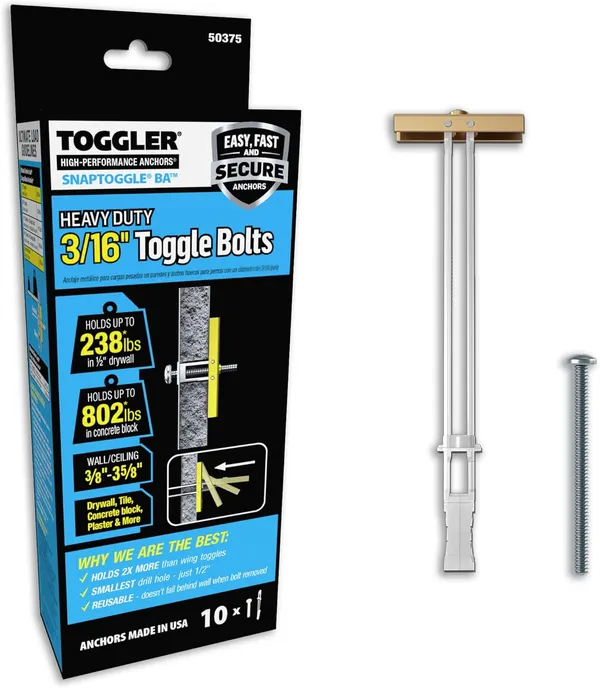
TOGGLER SnapToggle BA Toggle Bolts (6-Pack)
Heavy-duty toggle bolts that hold 265 lbs per anchor in half-inch drywall.
- Holds 265 lbs per anchor in 1/2-inch drywall
- Spreads load across a wide area of drywall
- Perfect for TV mounts, heavy shelves, and mirrors without a stud
- More work to install than screw-in anchors — requires drilling a hole
- Overkill for lightweight items like picture frames
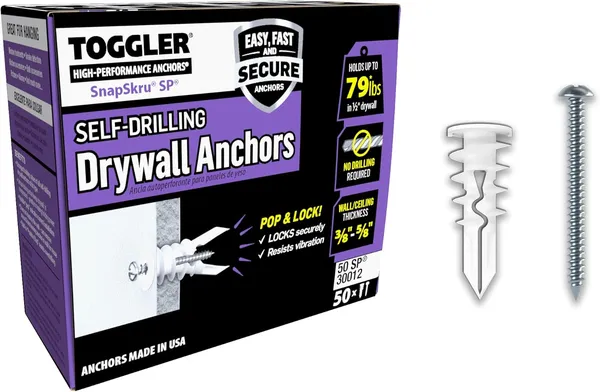
TOGGLER SnapSkru Self-Drilling Drywall Anchors (100-Pack)
Self-drilling drywall anchors that hold up to 45 lbs with just a screwdriver.
- Self-drilling — no drill or pre-drilled hole needed
- 100-pack is great value for multiple projects
- Installs with just a Phillips screwdriver
- Holds up to 45 lbs in 1/2-inch drywall
- Only rated for 45 lbs — not for heavy items like TV mounts
- Not reusable once removed from the wall