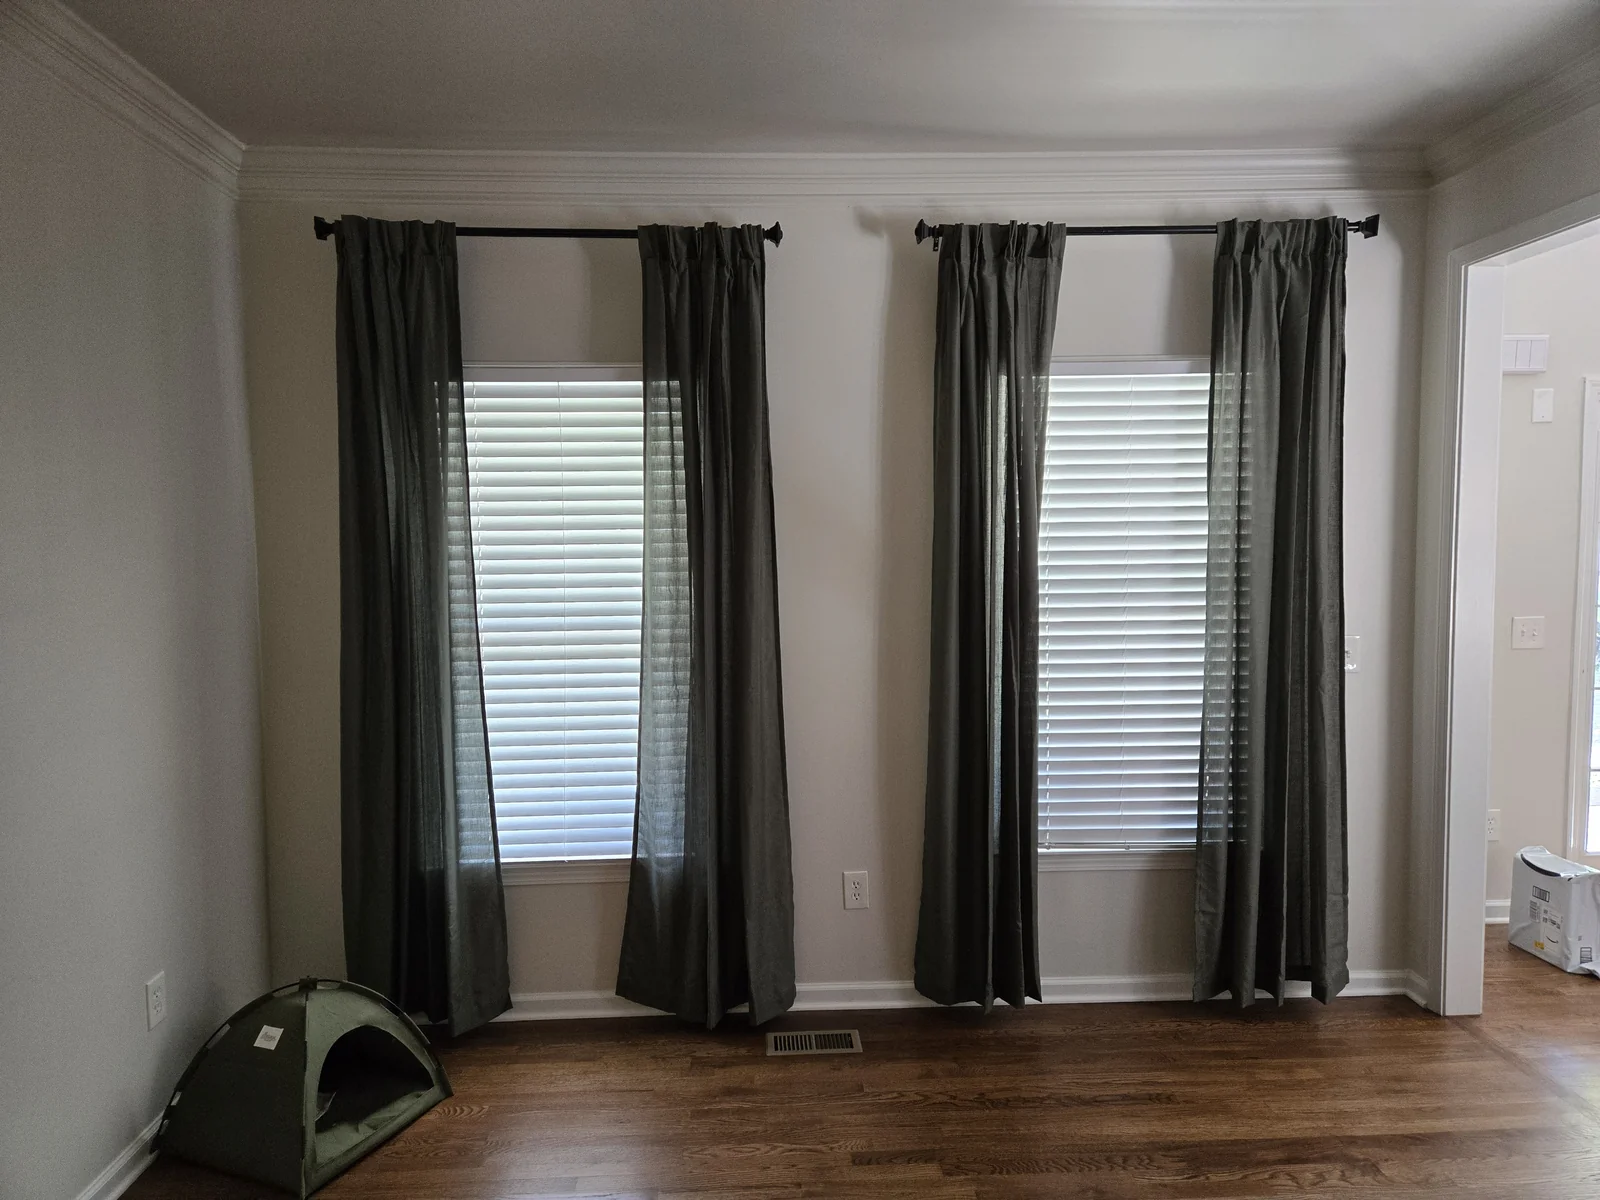
We have 12-foot ceilings on the main floor of our house, which makes hanging curtains its own little engineering project. The rod sits at 98 inches off the floor. The curtains run almost the full height of the wall. Get the rod even slightly off level and the whole room feels crooked.
I tried doing this with a tape measure and a regular bubble level on the first window. It looked fine until I stepped back across the room and saw the rod was tilted maybe a quarter inch over its 96-inch span. Took it down, redrilled, and bought a self-leveling laser. Every curtain rod since has gone up in 15 minutes and looked perfect from any angle.
Here’s the method that works.
Quick answer: Use a self-leveling laser to project a level line across the wall, mark your bracket positions, and install with self-drilling drywall anchors — but pre-drill a small pilot hole first so the anchors don’t break. A 3-step folding ladder gets you up to 9-foot ceilings comfortably.
Why a Laser Level Is Worth It (Even for One Project)
A standard curtain rod is 96 inches end-to-end. Try marking a level line across that distance with a tape measure and a bubble level — it’s harder than it sounds. Every fraction of a degree of tilt is amplified across the span. Half a millimeter of error in your tape-measure marking turns into a visibly tilted curtain rod at the wall.
A self-leveling laser eliminates the math. Set it on a tripod, turn it on, and a perfectly horizontal green line appears across the wall. Mark your bracket positions where the laser hits.
I bought the DEWALT 3-way laser for the Rubbermaid FastTrack install in the garage and have used it for every wall project since — curtains, TV mounts, gallery wall layouts. If you only ever hang one curtain rod, it’s overkill. If you do any home projects regularly, it pays for itself fast.
If you don’t want to spend $500 on a laser, a 4-foot bubble level and a careful tape-measure approach can work — just measure twice from the ceiling at both ends to confirm your marks are level before drilling.
What You’ll Need
Tools:
- Cordless drill
- 1/8-inch drill bit (for pilot holes)
- Self-leveling laser and tripod — or a 4-foot bubble level if you don’t have a laser
- Tape measure
- Pencil
- Step ladder tall enough to reach your hang height comfortably
Hardware:
- Curtain rod sized for your window plus 8-12 inches of overhang per side. The BRIOFOX adjustable rod covers 48 to 84 inches.
- Curtains long enough for your hang height. We used 96-inch Topfinel pinch-pleated linen panels for the 98-inch hang — they brush the floor.
- Self-drilling drywall anchors (#8 size, rated for 75+ lbs each)
- The screws that came with the curtain rod brackets (or use the screws in the anchor kit)
Step-by-Step Install
Step 1: Decide the Hang Height
For tall ceilings, the rule is hang as high as possible — usually 1 to 3 inches below the ceiling, or just below crown molding if you have it. This makes the room feel taller and the curtains hang dramatic.
For standard 8-foot ceilings, 4 to 6 inches above the window frame is the standard. The curtains end up looking like they belong with the window without making the wall look cluttered.
We hung at 98 inches off the floor for our 12-foot ceilings. Higher would have looked silly; lower would have looked stunted.
Step 2: Set Up the Laser
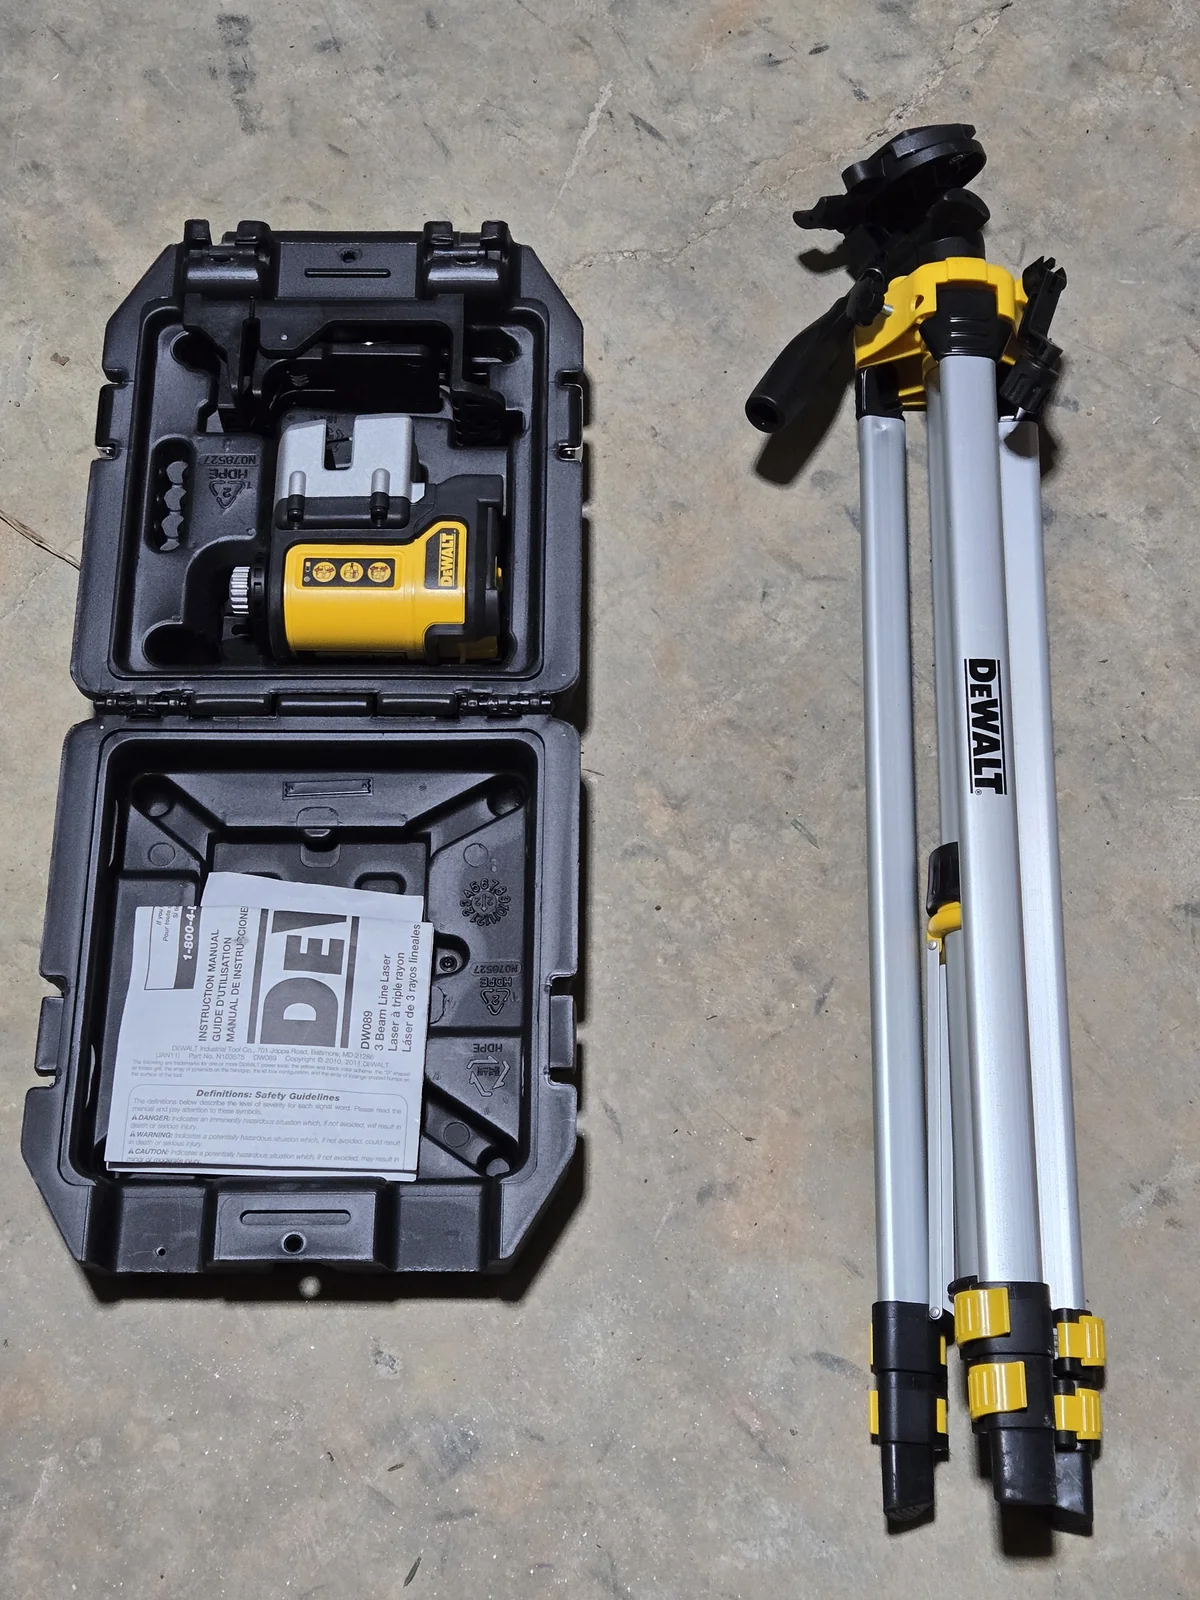
Set up the DEWALT laser on the tripod about 6-8 feet from the wall. Adjust the tripod height so the laser’s horizontal line hits the wall right where the top of the curtain bracket should sit.
The DEWALT self-levels in about 2 seconds — set it down, wait for the beam to stop pulsing, and you have a perfectly horizontal reference line.
Critical: get the laser to the right height physically — don’t tilt it up. The DEWALT (and any self-leveling laser) uses an internal pendulum to find true horizontal. If you tilt the unit upward to “aim” the line higher on the wall, the pendulum can’t level and you lose accuracy. The laser only works correctly when it’s roughly upright on a stable surface.
For our 98-inch hang, even my DEWALT tripod at full extension wasn’t tall enough. I ended up stacking moving boxes to get the tripod base up another foot or so, then leveling the tripod on top of the boxes. Looks ridiculous, works perfectly. Whatever you have around — boxes, an upside-down tote, a step stool — use it to physically raise the laser to the height of your bracket marks.
If you don’t have a laser, measure down from the ceiling at both ends of the rod span and mark the bracket positions. Verify with a 4-foot bubble level placed on a string stretched between the two marks.
Step 3: Mark Each Bracket Position
Most curtain rods have two end brackets and (for rods over 60 inches) one center support. Hold each bracket against the wall at the laser line, level it, and mark through the screw holes onto the wall with a pencil.
For 96-inch rods or longer, always include the center support bracket — without it, the rod will sag visibly under the weight of curtains, especially if they’re heavy or blackout-lined.
Step 4: Pre-Drill Pilot Holes
This is the step the drywall anchor packaging tells you to skip. Don’t.
Self-drilling drywall anchors are designed to bite into the drywall surface as you drive them. In fresh, intact sheetrock, that bite point puts a lot of stress on the threads at the tip of the anchor. I’ve broken three of them trying to drive them straight into the wall without a pilot hole.
A 1/8-inch pilot hole at each marked spot — just deep enough to break through the drywall paper — eliminates the problem. The anchor has somewhere to start and bites cleanly without the tip stressing.
Step 5: Drive the Drywall Anchors
Hand-drive the self-drilling anchor into each pilot hole using a Phillips-head screwdriver bit on your drill. Drive it until the head sits flush with the wall surface, but don’t overdrive — once the head bottoms out, stop. Going further can crush the drywall around the anchor.
Repeat for each bracket position.
Step 6: Mount the Brackets
With anchors set, hold each bracket against the wall and drive the bracket screws into the anchors. The screws bite into the threaded interior of the anchor and pull the bracket tight to the wall.
For the center support bracket, double-check that it’s at the same height as the end brackets — otherwise the rod will dip or rise at the middle.
Step 7: Hang the Rod and Curtains
Slide the curtain rings or grommets onto the rod, then drop the rod into the brackets. Most modern brackets have a small set screw or clip that holds the rod in place — engage that to keep the rod from being knocked out accidentally.
Step back across the room and look at the rod. If it’s level, you’re done. If it’s even slightly tilted, the laser line was off — most likely because the laser tripod wasn’t fully settled or because the floor wasn’t level under the tripod.
A Note on the Step Ladder
For a 12-foot ceiling and a 98-inch hang, I used the HBTower 3-step folding ladder. The top step puts me at the right height to drill into the wall comfortably without overreaching, and the built-in handrail means I can hold it for stability while my other hand works the drill.
A 2-step is too short for tall ceilings — you’ll be over-reaching and your drill will be at an awkward angle. A full extension ladder is overkill and risks scratching the wall. The 3-step folder is the sweet spot.
Mistakes I Made
First curtain rod hung with a tape measure only. Looked fine until I stepped back across the room. The rod was tilted about 1/4 inch over its 96-inch span. Took it down, redrilled, and bought a laser. Every rod since has gone up perfectly.
Didn’t pre-drill the first set of anchors. Broke two of them on the first try. The packaging says self-drilling, but in fresh drywall the tip of the anchor sometimes can’t bite cleanly. A 1/8-inch pilot hole — 5 seconds of work — fixed it.
Skipped the center support bracket on a 96-inch rod. The rod sagged about 1/2 inch in the middle once the curtains were hung. Looked terrible. Added the center support bracket later and the sag disappeared.
Hung curtains too short. First time I bought 84-inch curtains for a 98-inch hang — they ended up about 6 inches short of the floor and looked weird. For tall hangs, buy 96 or 108-inch curtains so they reach the floor or just brush it. We ended up using 96-inch Topfinel linen pinch-pleat panels which were exactly right for a 98-inch hang.
Tilted the laser upward to aim it at the bracket height. The DEWALT laser only self-levels when it’s mostly upright. Tilting it up to “aim” the beam at a higher height defeats the leveling pendulum and the line stops being accurate. For our 98-inch hang, even the tripod at full extension was too short — I stacked moving boxes under the tripod to physically raise the whole rig to the right height.
Product Comparison
| Product | Price | Rating | What It’s For |
|---|---|---|---|
| DEWALT 3-Way Laser Level | $499 | 4.6/5 | Optional but worth it across multiple projects |
| DEWALT Laser Tripod | $45 | 4.4/5 | Set the laser at the right hang height |
| HBTower 3-Step Folding Ladder | $60 | 4.7/5 | Reach 9’+ ceilings comfortably |
| CrimsonMark Self-Drilling Anchors | $10 | 4.6/5 | 75 lb per anchor — plenty for curtains |
| BRIOFOX Black Adjustable Curtain Rod | $27 | 4.6/5 | 48-84” adjustable, 1” diameter |
| Topfinel 96” Linen Pinch Pleat Curtains | $38 | 4.4/5 | 96-inch length for tall ceilings, set of 2 |
Frequently Asked Questions
How high should I hang curtain rods?
For standard 8-foot ceilings, 4 to 6 inches above the window frame. For tall ceilings (9 feet or higher), hang as close to the ceiling as possible — usually 1 to 3 inches below — to make the room feel taller and the curtains hang dramatic. Our 12-foot ceiling rod sits at 98 inches off the floor.
Do I need to pre-drill for self-drilling drywall anchors?
The packaging says no. In my experience, yes — pre-drill a 1/8-inch pilot hole. Without it, the tip of the anchor sometimes can’t bite cleanly into fresh sheetrock and breaks. A 5-second pilot hole eliminates the problem.
What kind of drywall anchor is best for curtain rods?
Self-drilling nylon anchors rated for 50+ pounds each. The CrimsonMark #8 holds up to 75 pounds — plenty for any normal curtain weight, even with blackout liners. You don’t need to hit a stud for curtains; the load is well within drywall anchor capacity.
Do I need to use a laser level?
No, but a 96-inch curtain rod magnifies any tilt error. A laser eliminates the math. If you don’t have one, a 4-foot bubble level and careful measurement from the ceiling at both ends works — just verify by stretching a string between your marks and checking with the level.
What size step ladder do I need for tall ceilings?
For 9-foot ceilings, a 3-step folder. For 10-12 foot ceilings, the 3-step folder still works for hangs up to 100 inches off the floor — that’s where I am. For higher hangs, you’ll need a small extension ladder or a taller folder.
Bottom Line
- Hang as high as possible on tall ceilings. 1-3 inches below the ceiling makes the room feel taller and the curtains hang dramatic.
- Use a self-leveling laser if you have one — it eliminates measurement error on long rods. Otherwise a 4-foot level and careful measuring works.
- Pre-drill a pilot hole before driving self-drilling anchors. The package says you don’t need to. You do.
- Always use a center support bracket on rods over 60 inches. Skipping it leads to a visible sag.
- Buy curtains long enough for your hang height. For a 98-inch hang, 96-inch curtains brush the floor; 108-inch will puddle slightly.
- Don’t tilt your self-leveling laser to aim it. The internal pendulum needs the unit roughly upright. For tall hangs, raise the laser tripod physically — boxes, totes, whatever you have — so the laser line is at the right height while the laser itself is level.
If you’re working through a list of home projects with the same laser and the same drill, the Rubbermaid FastTrack install guide and TV wall mount guide cover the other two big jobs in our house. The drywall anchors guide breaks down which anchor type to use for everything heavier than a curtain rod.
Products Mentioned in This Article
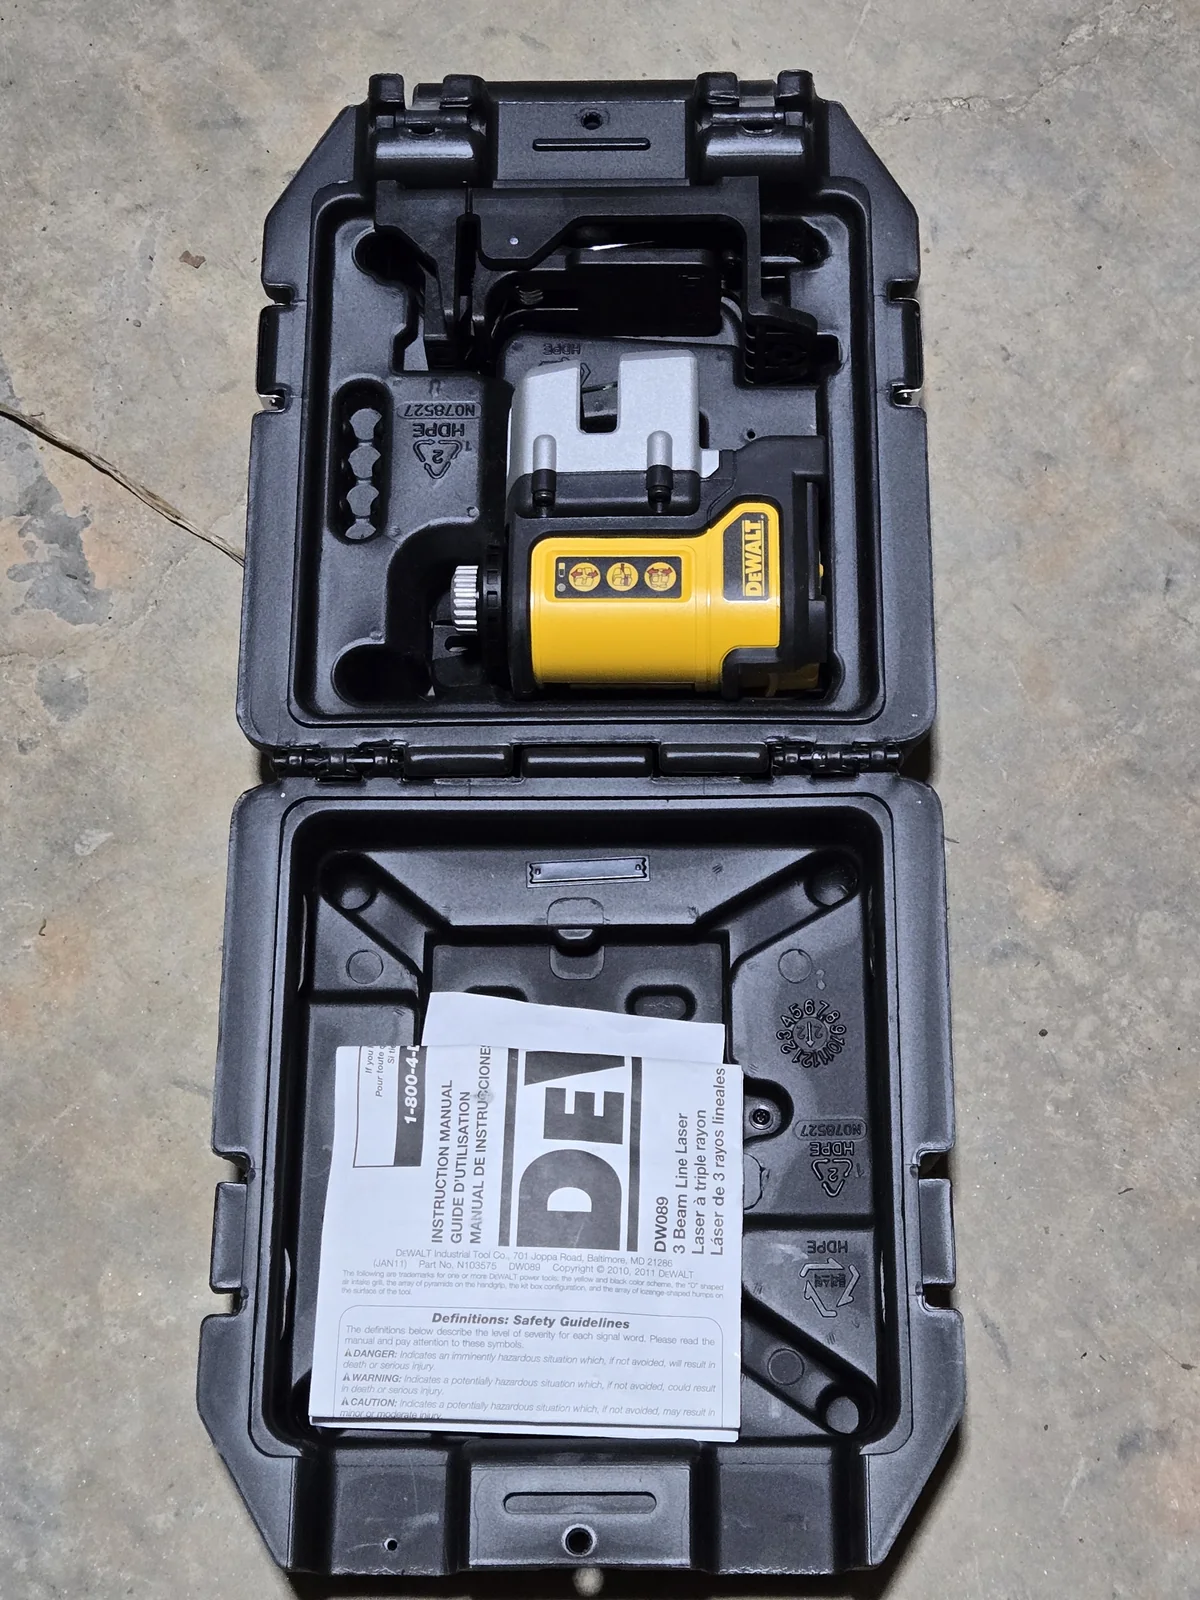
DEWALT 12V MAX 3-Way Green Self-Leveling Laser Level (DW089LG)
12V MAX 3-way green self-leveling laser level. Projects horizontal, vertical, and 90-degree lines for hanging curtain rods, mounting TVs, and aligning pictures.
- Green beam is far more visible than red in a normally lit room
- Self-leveling within ±4° — set it down, it levels in seconds
- Same laser I used for FastTrack rails and TV mounts — pays off across projects
- Mounts to standard 1/4 x 20 tripod thread
- Expensive at $499 — overkill for one curtain rod
- Battery and charger required
DEWALT Laser Level Tripod (DW0881T)
Lightweight aluminum tripod for laser levels with collapsible legs, tilting head, and 1/4 x 20 thread mount.
- Compatible with DEWALT and most other laser brands
- Tilting head with integrated bubble level
- Folds compact for storage between projects
- Stable enough for curtain rod and TV mount work
- Aluminum legs flex slightly at full extension
- Carrying pouch is thin
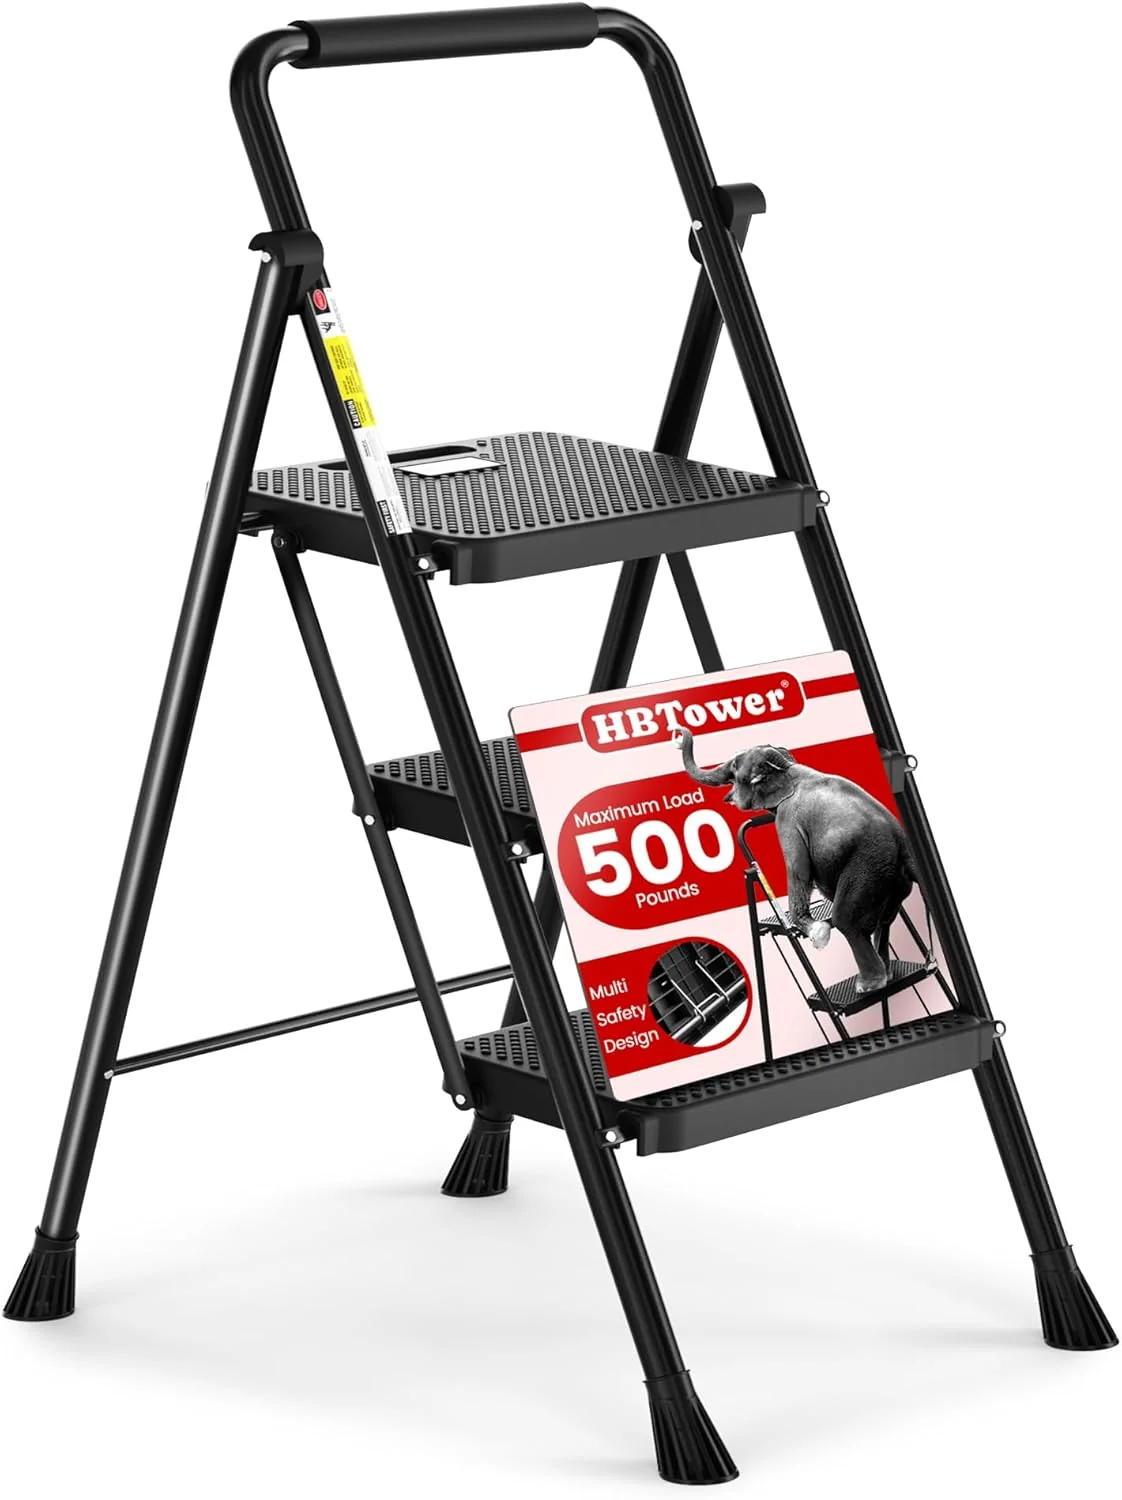
HBTower 3-Step Folding Steel Ladder
Folding 3-step steel ladder with non-slip pedals, built-in handrail, and metal safety lock. Reaches 9-foot ceilings comfortably.
- Reaches the top of a 9-foot wall with the top step (no overreach)
- Built-in handrail makes it stable for one-handed work
- Folds to 1.6 inches thick for closet storage
- Steel frame is rated to 330 lbs
- Steel construction makes it heavier than plastic stools
- Footprint is wider than a 2-step — needs floor space to set up
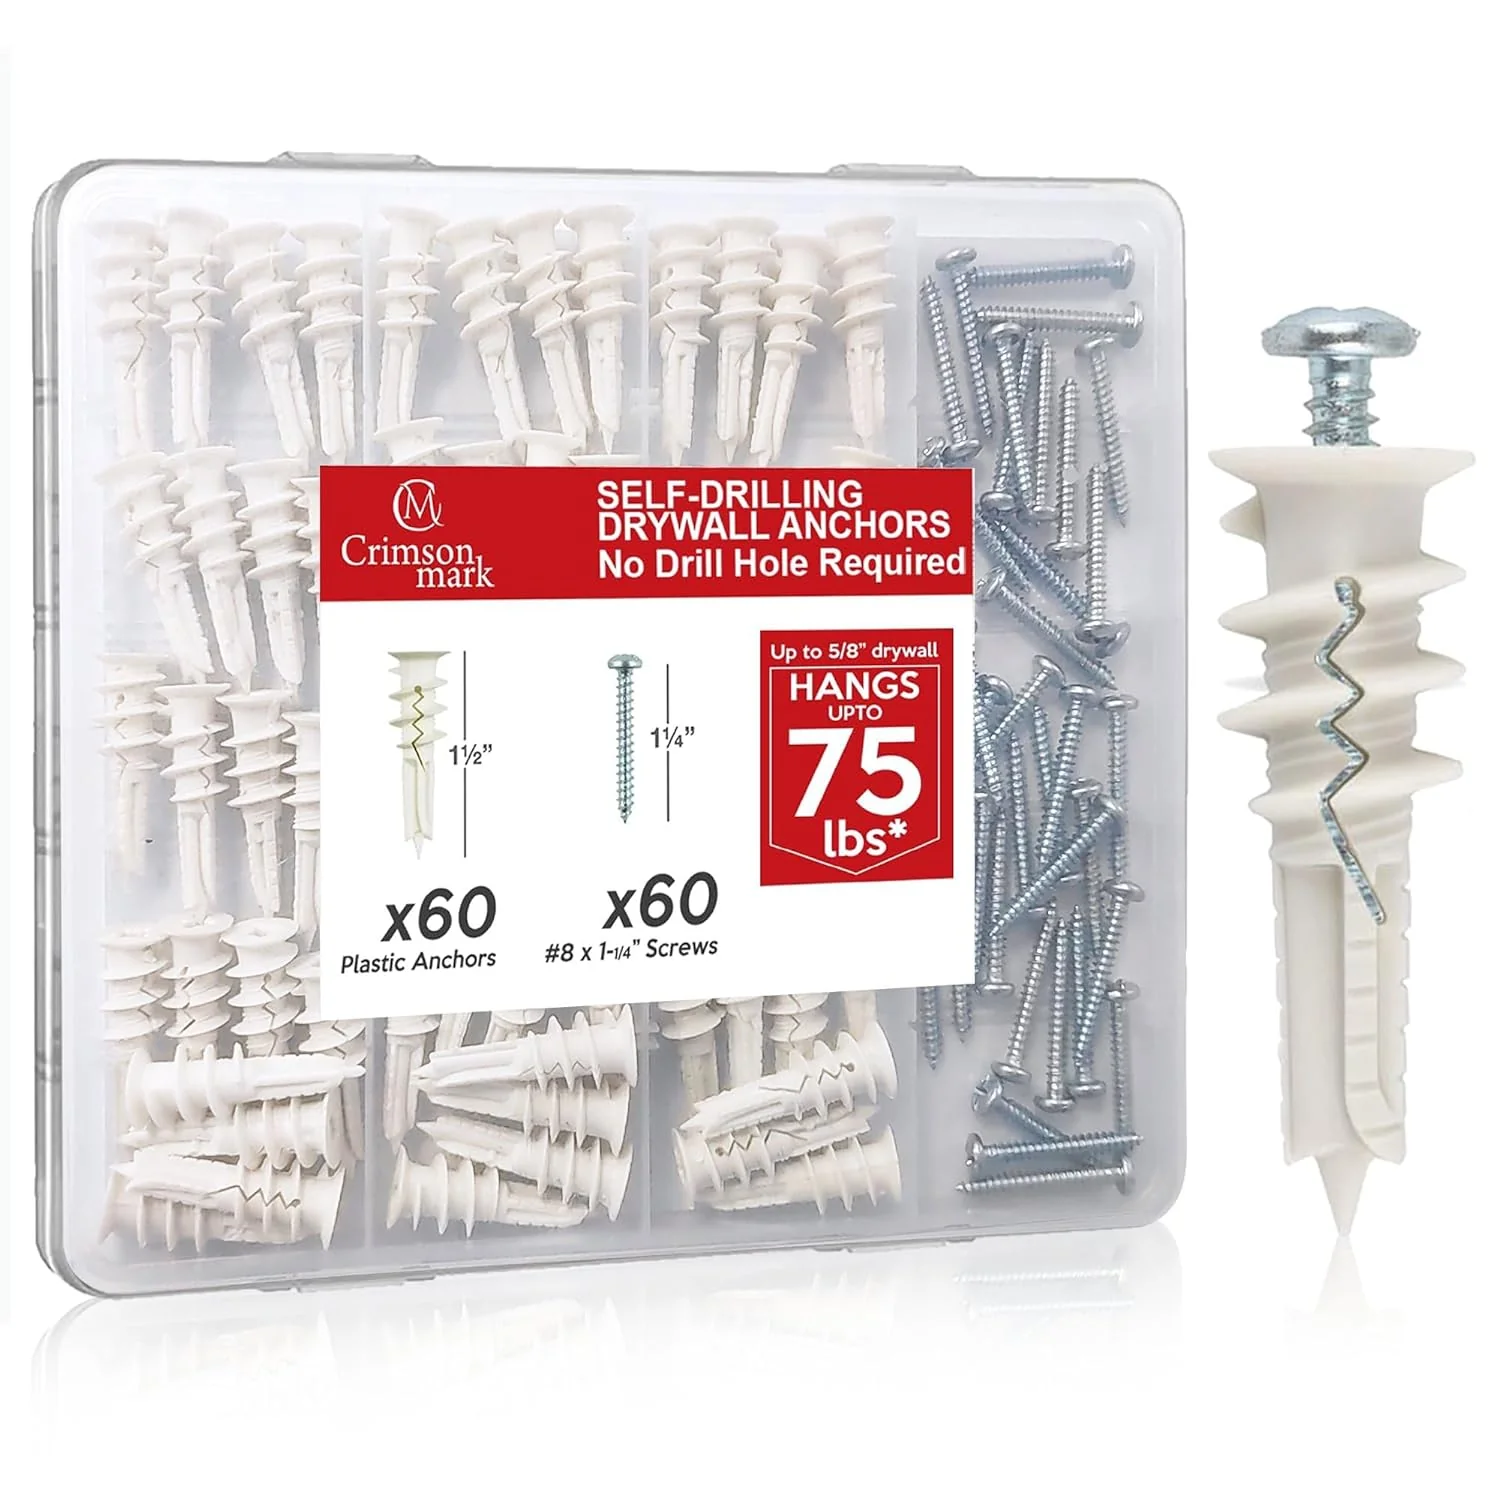
CrimsonMark 120-Piece #8 Self-Drilling Drywall Anchors and Screws Kit
120-piece kit of #8 self-drilling drywall anchors with screws. Each anchor holds up to 75 pounds.
- Holds up to 75 lbs per anchor — plenty for curtain rods
- Glass-fiber-reinforced nylon is stronger than cheap plastic
- 120 pieces is enough for many projects
- Cheap insurance — under $10 for the whole kit
- Manufacturer says no pre-drilling needed — in my experience, you do need a small pilot hole or the anchor breaks
- Plastic construction not as strong as metal toggle bolts for very heavy loads
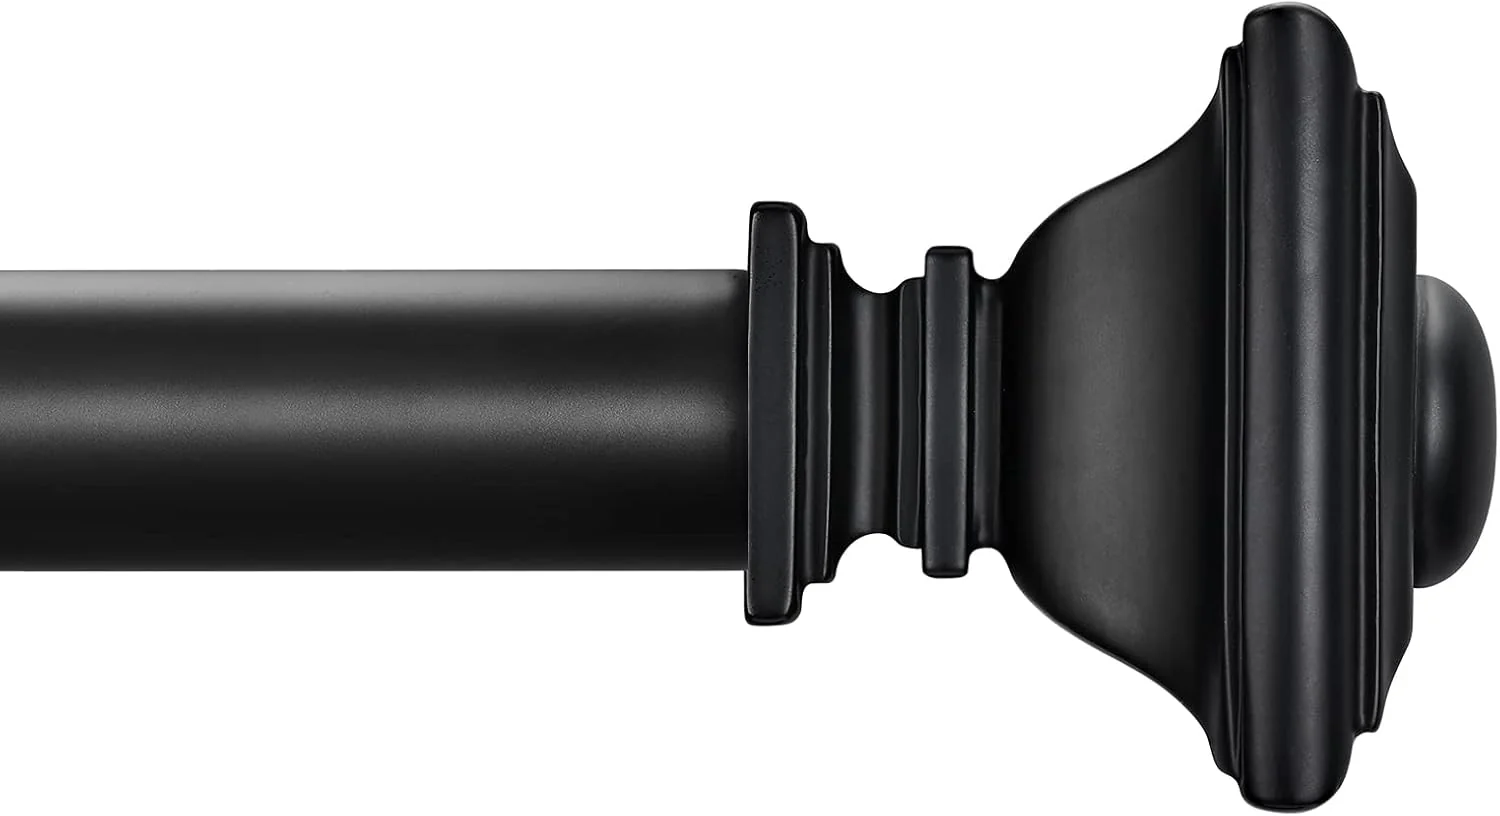
BRIOFOX Black Adjustable Curtain Rod (48-84 inch)
Adjustable black curtain rod, 48-84 inches, 1-inch diameter with classic square finials. Heavy-duty enough for floor-length curtains without sag.
- 1-inch diameter is sturdy enough that 96-inch curtains don't sag the rod
- Adjustable 48-84 inches covers most window widths
- Includes mounting brackets and center support
- Black finish goes with most modern decor
- 84-inch max length — for windows wider than that, you'd need two rods or a different set
- Square finial styling won't match every decor
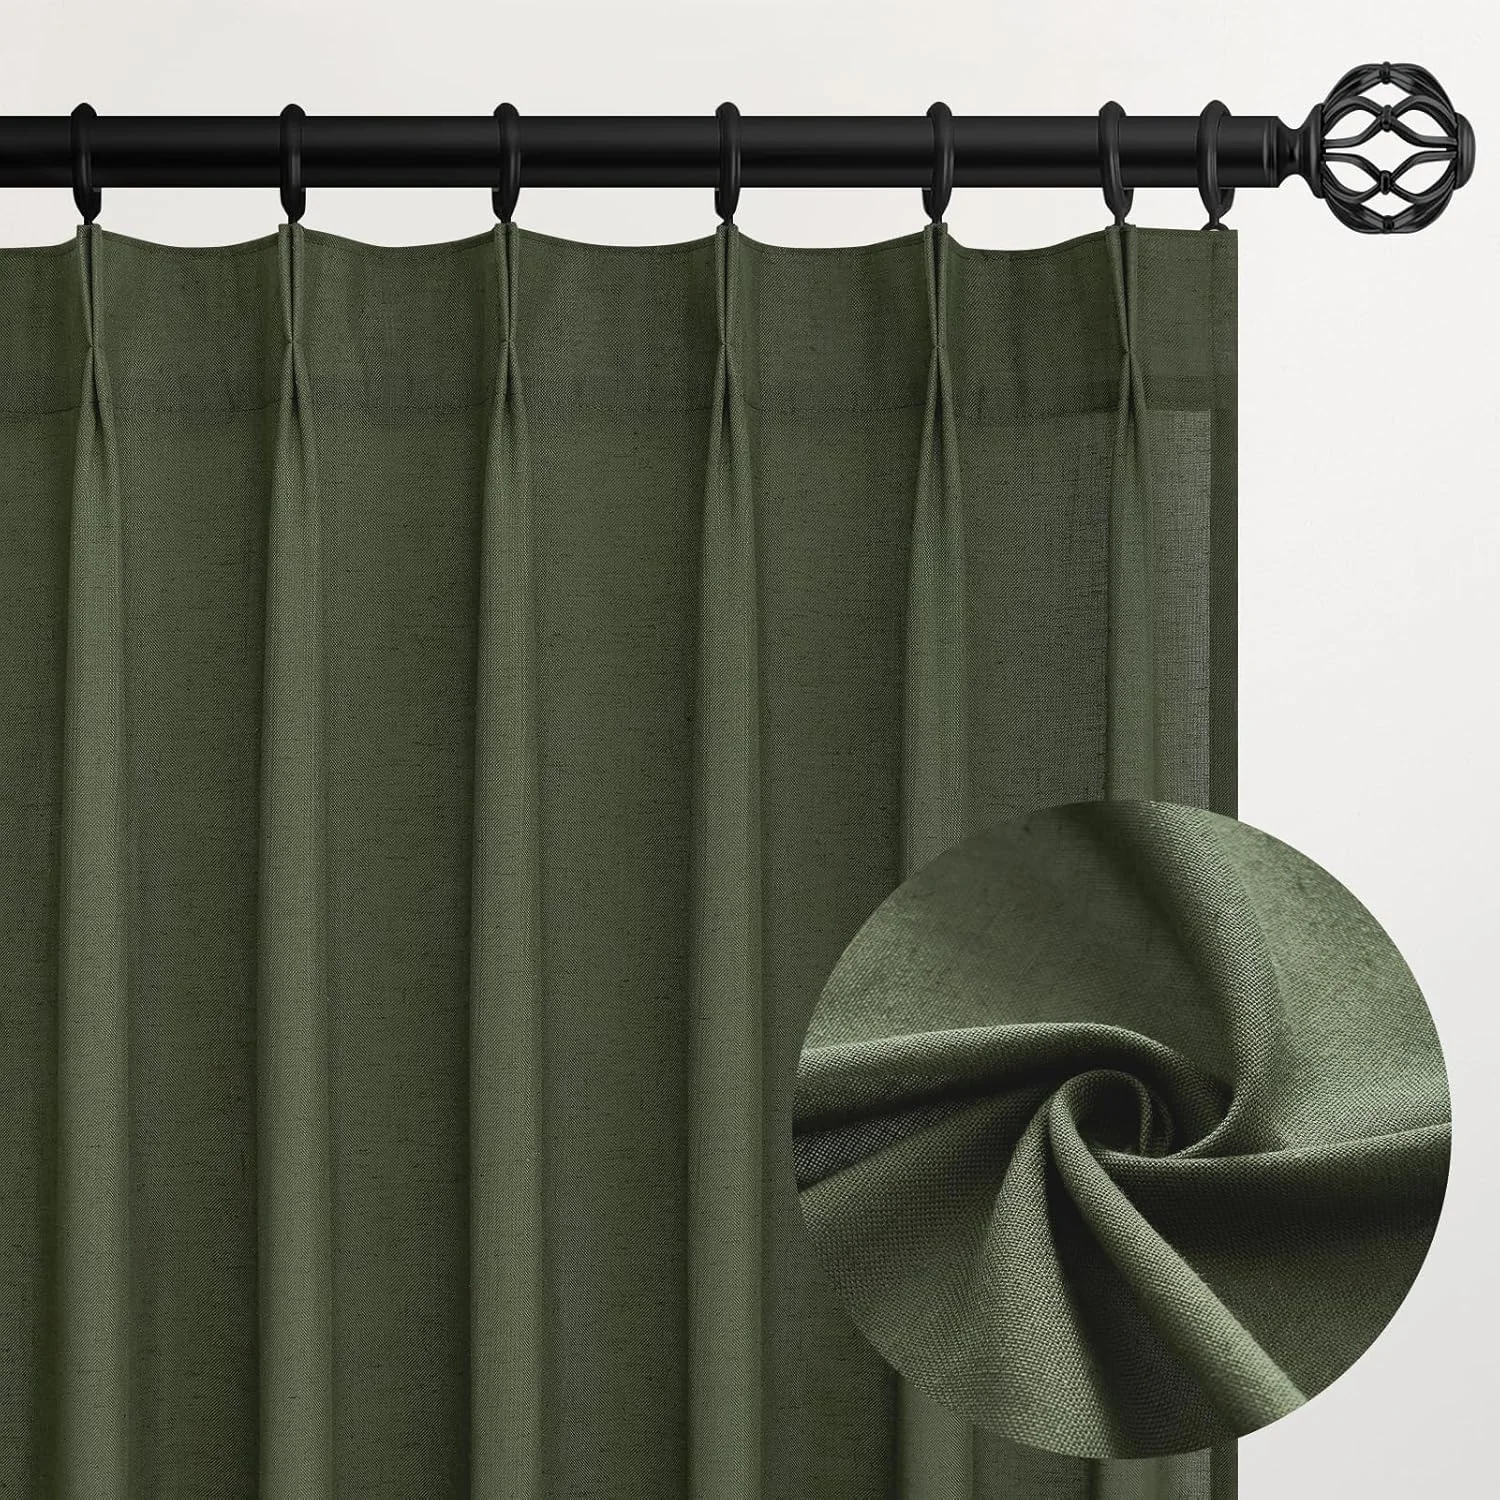
Topfinel Olive Green Linen Semi-Sheer Pinch Pleated Curtains (96" Set of 2)
96-inch olive green linen-blend curtains with pinch pleats. Set of two panels — exactly what we used in our living room.
- 96-inch length brushes the floor on a 98-inch hang — exactly the look I wanted
- Linen-blend texture looks more expensive than polyester
- Pinch pleat hangs cleanly — no extra ring clips needed
- Set of two means you have both panels for less than $40
- Semi-sheer — won't fully block light, look for blackout if that's a need
- Iron the pleats once if you want sharp pinch lines (they ship folded)